
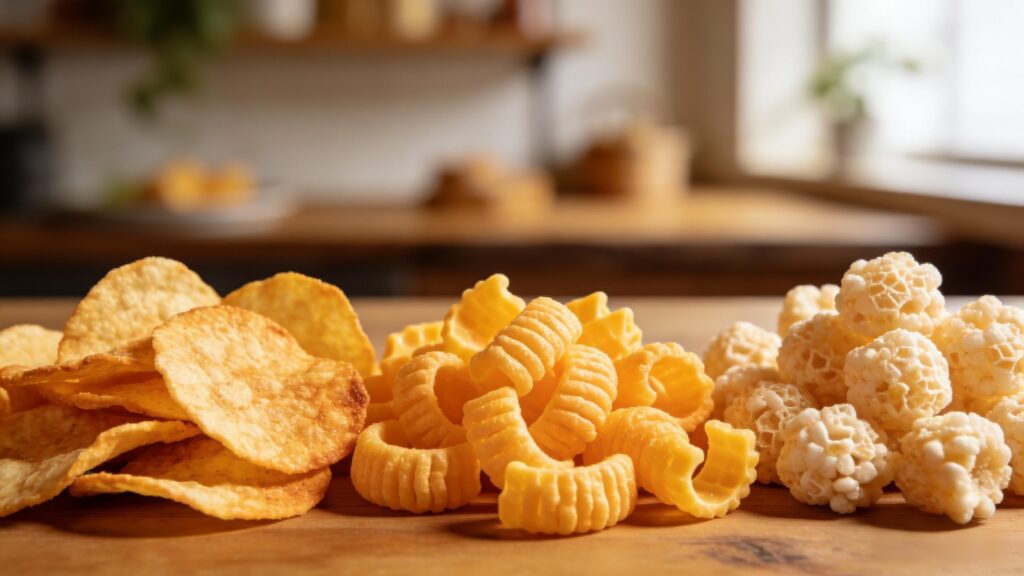
Puffed snacks—like cheese balls, shaped cereal pieces, or filled corn puffs—are beloved for their light, crispy texture and fun forms. extruder snack machine Making them in different shapes involves a combination of food science, processing techniques, and molding methods. Below is a step-by-step guide to producing puffed snacks in diverse shapes.
1. Understand the Basics of Puffing
Puffing occurs when moisture inside a starch-based dough turns into steam under heat and pressure, expanding the structure. The two main methods are:
- Extrusion puffing: Hot, pressurized dough is forced through a die, expanding as it exits.
- Oven or hot-air puffing: Pre-formed shapes are dried and then rapidly heated to create puffing.
For complex shapes, extrusion is the most versatile.
2. Choose the Right Ingredients
- Base flour: Cornmeal, rice flour, wheat flour, or potato starch.
- Moisture content: Around 12–18% for proper expansion.
- Additives: Baking soda (for extra puffing), emulsifiers (to improve texture), and flavorings (salt, sugar, cheese powder). The dough should be pliable but not sticky.
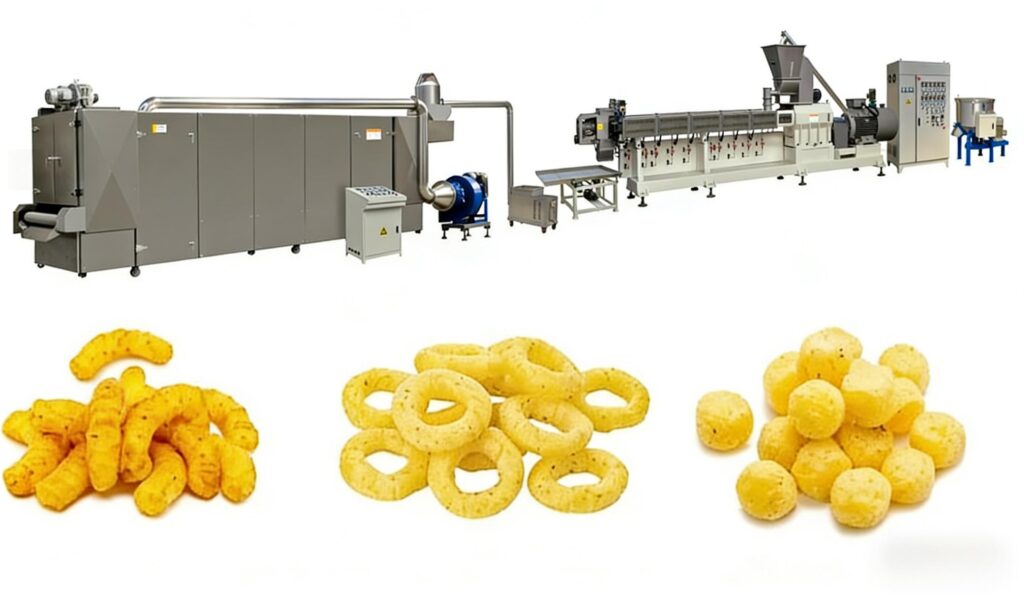
3. Use an Extruder with Shaped Dies
An extruder pushes the dough through a metal plate called a die. The die holes determine the snack’s cross-section.

- Simple shapes: Round, star, square, or flower-shaped dies create continuous ropes that can be cut into puffs.
- 3D shapes (e.g., balls, shells, cartoon characters): Use a twin-screw extruder with a rotating knife or a forming die that shapes the puff as it expands. Some systems use half-mold plates that close around the extruded dough to form precise 3D objects.
- Filled shapes: Use a co-extruder to pump a creamy filling (cheese, chocolate) into the hollow center of a tube-shaped puff, then cut and seal the ends.
4. Control Temperature and Pressure
- Heat the dough to 120–180°C (248–356°F) inside the extruder.
- Pressure: 40–100 atm. When the dough exits, the sudden drop makes moisture flash into steam, puffing it.
- For consistent shapes, maintain even temperature and screw speed. A cooler die produces denser shapes; a hotter die increases expansion but may distort fine details.
5. Cut and Dry the Puffs

- As the puffed rope exits the die, a rotary cutter slices it into individual pieces. Adjust cutter speed for length (e.g., short rings vs. long tubes).
- Dry in an oven at 80–120°C (176–248°F) to remove residual moisture (≤3–5%) for crispness.
- For unique shapes (stars, hearts), use a secondary forming step: after initial puffing, pass pieces through a roller with engraved molds while they are still pliable.
6. Finish and Flavor
- Coating: Tumble puffs in a rotating drum with oil, extruder snack machine then dust with seasoning powder.
- Coloring: Add natural or artificial colors to the dough before extrusion.
- Shrink control: Rapid cooling (e.g., conveyor belt with fans) helps set the shape before the puff collapses.
7. Troubleshooting Shape Distortion
- If puffs warp or blow out on one side: reduce moisture or adjust die temperature.
- If edges are rough: increase the die’s draft angle (tapered holes).
- For thin, intricate shapes (e.g., letters): use a lower expansion ratio and a stronger starch (like waxy maize).
Example Process for Different Shapes
| Shape | Method | Die type |
|---|---|---|
| Round balls | Standard extrusion + rotary cutter | Round hole, 3mm |
| Star-shaped rings | Extruded star tube + cutter | Star-shaped die |
| Cartoon fish | Twin-screw extruder with matching mold plates | Mold closes around dough |
| Hollow tubes (for filling) | Co-extrusion with central air injection | Annular (ring) die |
By experimenting with die design, dough composition, and expansion conditions, you can produce everything from classic puffed stars to custom 3D cartoon shapes. Always test small batches and adjust parameters to achieve the desired size, texture, and detail.