
Introduction
Corn flakes are one of the most recognizable breakfast cereals in the world. They are thin, crisp, golden flakes made from cooked, flaked, and toasted corn. breakfast cereal making machine They look simple, but making them takes careful control of raw materials, cooking, tempering, flaking, and toasting. Each stage affects flavor, color, texture, bowl life (how long the flakes stay crisp in milk), and shelf life.
This guide walks through the whole process, from raw material selection to packaging. It also covers quality control and troubleshooting.

1. Process Overview
The traditional corn flake process has these stages:
- Raw material selection and preparation (corn grits)
- Batch cooking with flavoring
- Cooling, partial drying, and breaking up of lumps
- Tempering (moisture equilibration)
- Flaking
- Toasting
- Coating and fortification (optional)
- Final drying and cooling
- Packaging
2. Raw Materials and Formulation
2.1 Corn Selection
The main ingredient is dent corn that has been dry-milled into flaking grits.
- Grit size: Large, uniform grits are preferred, usually about 4–8 mesh (roughly 2–4.5 mm). Large grits give the large, whole flakes consumers expect.
- Low fat content: Grits should contain less than about 1% fat. Germ is removed during milling because the oil in it goes rancid and shortens shelf life.
- Low fiber and bran: Remaining hull and bran particles darken the flakes and reduce their quality.
- Hardness: Corn with a high proportion of hard (vitreous) endosperm gives tough, large grits. These are well suited to flaking.
- Cleanliness: Corn should be free of mycotoxins, foreign material, and off-odors. Test incoming lots for aflatoxin and other contaminants.
2.2 Typical Cooking Formula
A typical batch for the pressure cooker (per 100 parts of corn grits):
| Ingredient | Approximate amount | Function |
|---|---|---|
| Corn grits | 100 parts | Base material |
| Sugar (sucrose) | 6–8 parts | Sweetness, browning, flavor |
| Malt syrup or extract | 2–3 parts | Flavor, color, enzyme activity |
| Salt | 1.5–2.5 parts | Flavor |
| Water | 40–50 parts | Cooking medium |
Some recipes add small amounts of other ingredients, such as vitamins and minerals, or flavor compounds. Added vitamins are usually applied after toasting to avoid heat losses.

3. Step-by-Step Processing
3.1 Cooking
Cooking gelatinizes the starch, develops flavor, and softens the grits to a uniform, translucent state.
Batch rotary pressure cooker (traditional method)
- The grits, flavor syrup, and water are loaded into a rotating cooker.
- Steam is injected, and the pressure is raised to about 1.0–1.5 bar (15–22 psi), which corresponds to about 120–125 °C.
- Cooking time is about 1–2 hours, depending on the grit size and the desired color.
- The target is a cooked grit that is uniformly translucent, with no white, hard center (called a “white eye” or “raw core”).
- The final moisture after cooking is usually about 28–32%.
Continuous cooking (alternative)
- Continuous cookers or cooking extruders can be used for high-volume production.
- They process the material faster and use less space, but the flavor and texture may differ from the batch method.
Control points:
- Steam pressure and temperature
- Cooking time
- Water-to-grit ratio
- Uniformity of syrup mixing
3.2 Discharging, Cooling, and Breaking Lumps
- The cooked grits come out of the cooker as clumps.
- A lump breaker ou delumper separates them into individual grits.
- The grits are then moved to the dryer. Handling should be gentle to avoid mashing the grits.
3.3 Primary Drying
Cooked grits need to be partially dried before tempering.
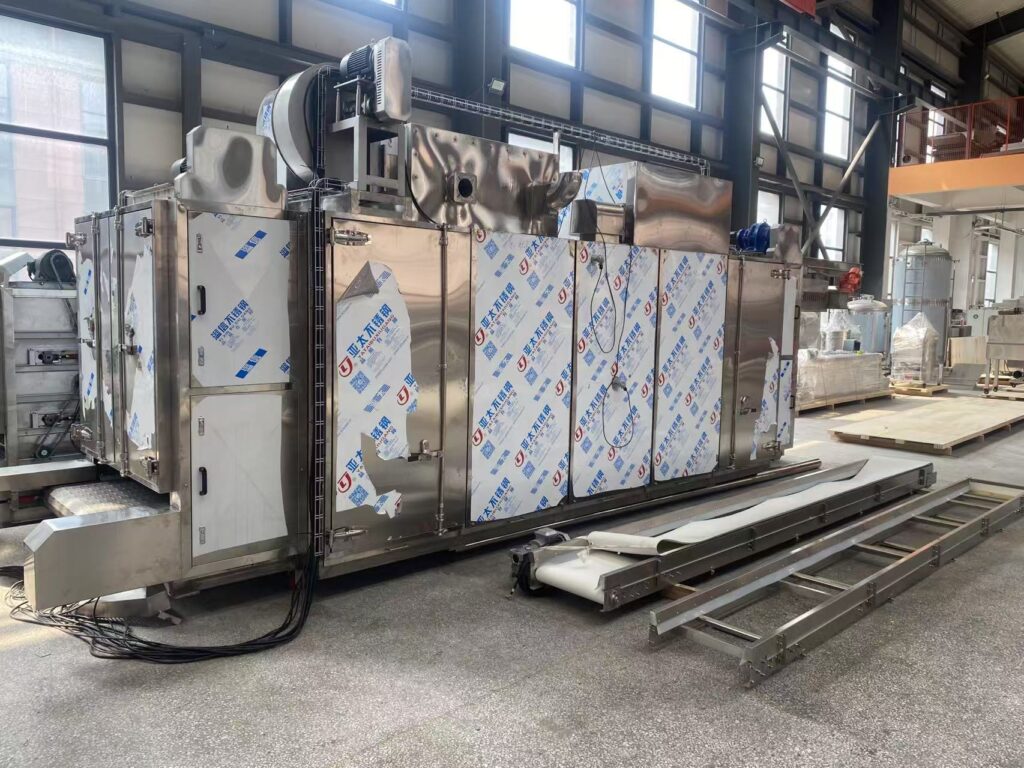
- Typical dryers are belt dryers ou rotary dryers that use hot air.
- Air temperature is about 80–120 °C. The right setting depends on the dryer type.
- Target moisture is about 18–22%.
- Drying should be even. Over-drying the surface and leaving the center wet causes a hard shell and poor flaking.
3.4 Tempering
Tempering lets moisture move through the grit to give a uniform moisture level and soft, pliable texture. This is a critical step for good flake formation.
- Grits are held in bins or on slow conveyors for several hours up to 24 hours, depending on the system.
- Temperature is usually kept at about ambient to 40 °C.
- The target moisture is about 17–20%.
- The grit should feel firm but slightly elastic. It should not feel soft or sticky.
Why it matters: A moisture gradient inside the grit leads to cracking, breakfast cereal making machine shattered flakes, and fines when the grits are rolled.
3.5 Flaking
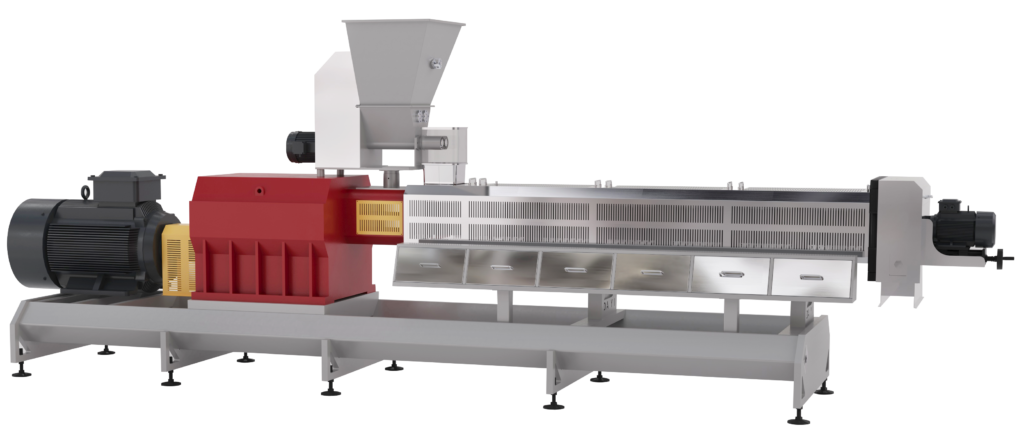
The tempered grits pass between a pair of large, precisely-machined steel flaking rolls.
- Rolls are usually about 500–900 mm in diameter. They are chilled internally with cooling water to prevent sticking.
- Roll gap is set to create flakes about 0.3–0.5 mm thick. This is the most important setting for the final texture.
- Roll pressure and speed are controlled together to produce flakes with the right thickness and surface.
- Roll surfaces are cleaned with scraper blades.
Key controls:
- Roll gap: The thinner the flake, the lighter and crispier it is. However, very thin flakes break more easily.
- Roll temperature: Cool rolls reduce sticking. Rolls that are too cold can cause condensation.
- Grit moisture and temperature: These strongly affect how well the flake forms.
3.6 Toasting
Toasting dries the flakes to their final moisture and develops the characteristic golden color, toasted flavor, and blistered, crisp texture.
- A typical toaster is a high-temperature, short-time (HTST) oven. It may be a rotating drum, a fluidized bed, or a conveyor-based air oven.
- Hot air temperature is typically 250–320 °C with a residence time of about 1–2 minutes.
- High heat causes the flake surface to expand and blister as the moisture flashes off.
- Final moisture after toasting is about 1–3%.
Chemical changes during toasting:
- Maillard browning between sugars and amino acids creates color and flavor.
- Caramelization of sugars adds more flavor and color.
- Starch dextrinization adds to the crisp texture.
Control points:
- Air temperature and flow
- Residence time
- Flake bed depth or loading
- Color (measured by a colorimeter)
Under-toasting leaves pale, soft flakes. Over-toasting gives dark, bitter, or burnt flakes.
3.7 Coating and Fortification (Optional)
After toasting, many cereals receive additional treatment.
- Vitamin and mineral spray: Heat-sensitive nutrients (for example, B vitamins, vitamin C, and vitamin D) are usually applied by a fine spray in an oil-based or aqueous carrier. Iron and zinc are often added too.
- Sugar coating: A sugar slurry is applied and then dried. This makes frosted corn flakes. It also helps the flakes stay crisp in milk.
- Antioxidants: Small amounts of BHT, mixed tocopherols, or similar can be used to extend shelf life.
After coating, the flakes need to be dried again to a moisture of about 2–4%.
3.8 Cooling and Conditioning
- Flakes must cool to near ambient temperature (below 35 °C) before packaging.
- Packing warm flakes causes condensation and loss of crispness.
- Use a cooling conveyor with filtered air.
4. Packaging
Corn flakes absorb moisture quickly, so packaging is vital.
- Inner liner: Usually a bag made from HDPE, metallized film, or a laminate with a good moisture barrier.
- Outer carton: Gives protection and carries printing.
- Fill method: Use gentle handling to reduce breakage. Vibratory and multi-head weighers are common.
- Water activity target: About 0.2–0.3 or less at packing.
- Shelf life: Typically 9–12 months when stored in cool, dry conditions.
Package integrity and seal quality should be checked regularly.
5. Equipment Summary
| Stage | Typical equipment |
|---|---|
| Grit cleaning | Sifters, magnets, destoners |
| Cooking | Rotary batch pressure cooker or continuous cooker |
| Lump breaking | Delumper |
| Drying | Belt or rotary dryer |
| Tempering | Holding bins or tempering conveyor |
| Flaking | Chilled flaking roll mill |
| Toasting | Rotary or fluidized-bed toaster |
| Coating | Coating drum or enrober, spray system |
| Cooling | Cooling conveyor |
| Packaging | Form-fill-seal, weighers, cartoners |
6. Quality Control
6.1 Raw Material Checks
- Grit size distribution, moisture, and fat content
- Mycotoxins, pesticides, and foreign material
- Odor and color
6.2 In-Process Checks
- Cooker pressure, temperature, and time
- Moisture after cooking, drying, tempering, and toasting
- Flake thickness and size
- Toaster temperature and color
6.3 Finished Product Tests
| Test | Typical target or purpose |
|---|---|
| Moisture | 1–4% |
| Water activity | Below about 0.3 |
| Bulk density | Product-specific, measures flake size and blister level |
| Color (L, a, b*) | Matches the standard |
| Bowl life | Crispness retention in milk, usually several minutes |
| Flake size | Percentage of whole flakes and fines |
| Vitamin content | Matches the label claim |
| Microbiology | Meets regulatory limits |
| Sensory | Flavor, texture, appearance, absence of off-notes |
7. Troubleshooting
| Problem | Likely causes | Possible solutions |
|---|---|---|
| White spots or hard centers in flakes | Under-cooked grits, uneven moisture | Increase cooking time or pressure, improve steam distribution, check water ratio |
| Flakes too thick or dense | Roll gap too wide, poor tempering | Narrow roll gap, improve tempering |
| Many broken flakes or fines | Over-dried grits, moisture gradients, rough handling | Adjust drying and tempering, handle more gently |
| Flakes stick to rolls | Rolls too warm, grit too wet | Increase roll cooling, lower moisture |
| Poor blistering | Wrong moisture, low toaster temperature | Check moisture before toasting, raise toasting heat |
| Dark or burnt flakes | Over-toasting, too much sugar | Reduce temperature or time, check formula |
| Pale flakes | Under-toasting, low sugar or malt | Increase toasting, check formula |
| Soft, stale flakes | High final moisture, poor packaging | Dry more, improve packaging barrier |
| Off-flavors | Rancid fat, poor-quality grits, stale ingredients | Use degermed grits, add antioxidants, control storage |
8. Food Safety and Regulatory Considerations
- HACCP: Identify and control hazards such as mycotoxins, foreign material, and allergen cross-contact.
- Allergens: Barley malt contains gluten. Label correctly and clean equipment between products.
- Acrylamide: High-heat toasting can produce acrylamide. breakfast cereal production line Monitor levels and reduce them with careful control of sugars, temperature, and time.
- Nutrition labeling and fortification: Follow local regulations for nutrient claims and levels.
- Sanitation: Dry-processing plants should keep moisture out and control pests.
9. Tips for Process Optimization
- Select uniform grits. This improves nearly every step.
- Keep cooking and tempering consistent. This is where most quality problems start.
- Maintain roll surfaces and gaps. Regular grinding and inspection give uniform flakes.
- Monitor toaster profiles with sensors and use inline color measurement if possible.
- Keep energy use in mind. Dryers and toasters use most of the energy, so heat recovery can save money.
- Run trials when changing formula, grit source, or equipment. Small changes can have big effects.
Conclusion

Making good corn flakes depends on controlling each stage carefully. Quality grits, thorough cooking, proper tempering, accurate flaking, and well-managed toasting are the foundation of a crisp, flavorful, golden product. Protective packaging and strong quality systems then keep it that way until it reaches the consumer. Manufacturers that understand how moisture, temperature, and time interact at each step can produce consistent, high-quality corn flakes.
 French
 English
 Russian
 Spanish
 Italian
 Arabic
 Portuguese
 German
 Japanese
 Moroccan Arabic
 Persian
 Belarusian