
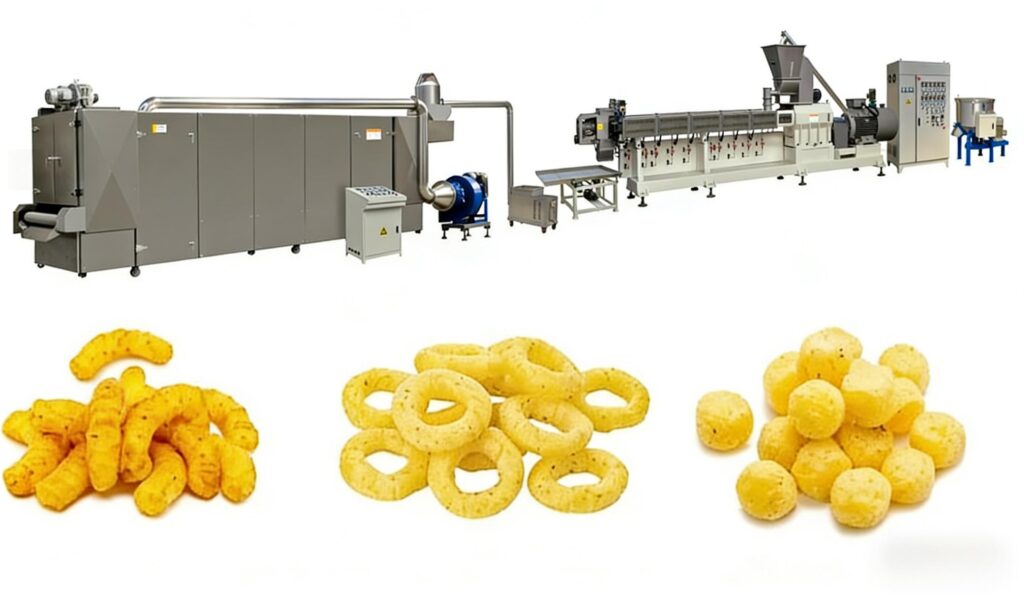
After extrusion, many expanded food products (e.g., direct-expanded snacks, cereal balls, and pellets for further processing) require a post-extrusion thermal treatment — often called baking, drying, or toasting. This step removes residual moisture, sets the structure, develops flavor and color, and ensures a crisp texture.
Controlling baking temperature is critical. Too low → soggy, underdeveloped product. snack extruder machine Too high → burnt surface, case hardening, or off-flavors. Below is a systematic guide to achieving consistent, high-quality results.
1. Understand the Role of Baking Temperature
Baking serves three main purposes in expanded foods:
| Purpose | Temperature effect |
|---|---|
| Moisture reduction | Evaporates water from ~8–12% post-extrusion down to 2–5% final (crisp texture). |
| Structure setting | Starch gelatinization completes; protein matrix stabilizes. |
| Color & flavor development | Maillard reaction and caramelization occur between 120–180°C. |
If baking temperature is too low, drying takes too long (inefficient) and the product remains chewy. If too high, the surface forms a hard shell while the core stays wet (case hardening).

2. Key Factors That Influence Baking Temperature Control
2.1. Product Moisture After Extrusion
- Typical extrudate exit moisture: 8–12% (for direct-expanded snacks) or 20–30% (for pellets/collets).
- Higher moisture requires lower initial baking temperature to avoid surface sealing. Start at 90–110°C, then gradually increase.
2.2. Product Size and Shape
- Small pieces (e.g., 5 mm cereal rings): Fast drying → higher temperature possible (140–160°C) for shorter time.
- Large or thick products (e.g., 20 mm snack bars): Lower temperature (100–120°C) and longer time to allow moisture to migrate from the core.
2.3. Sugar and Fat Content
- High sugar content (>15%) lowers the burning point. snack extruder machine Reduce baking temperature by 10–15°C.
- High fat content (e.g., fried snacks before baking) requires low temperature to prevent rancidity or smoke formation.
2.4. Desired Color and Flavor
- Light, mild product: Bake at 100–130°C.
- Golden brown, toasted flavor: Bake at 140–170°C (short time).
- Dark or caramelized: Up to 180–200°C, but watch for scorching.
3. Practical Temperature Control Strategies
3.1. Use a Multi-Zone Oven (Preferred)
Most industrial expanded-food ovens have 2–4 temperature zones. Set a descending or custom profile:
| Zone | Typical temp range | Purpose |
|---|---|---|
| Zone 1 (entry) | 90–120°C | Remove surface moisture gently without sealing. |
| Zone 2 (middle) | 120–150°C | Accelerate drying, begin browning. |
| Zone 3 (final) | 140–170°C | Develop crispness and color. |
| Zone 4 (cooling) | ambient – 40°C | Cools product before packaging. |
Example for breakfast flakes:
Z1=100°C → Z2=130°C → Z3=150°C → cooling.
3.2. Match Oven Airflow and Humidity

- Air velocity: High airflow removes moisture faster but can cool the product surface. Balance with temperature.
- Exhaust/ventilation: Remove humid air from the oven; otherwise, product will not crisp.
- Humidity control (advanced): For delicate pellets, use low-temperature drying with controlled humidity to avoid cracking.
3.3. Monitor Product Temperature, Not Just Air Temperature
- Air temperature and product temperature can differ by 20–40°C.
- Use an infrared gun or fiber-optic probe to measure actual product surface temperature.
- Keep surface temperature below 180°C for most sugar-containing snacks (caramelization point).
3.4. Control Residence Time Precisely
- Oven belt speed determines how long the product is exposed.
- Short time + high temperature → surface browning but possibly wet core (bad for thick products).
- Long time + low temperature → uniform drying but risk of over-baking if dwell time varies.
Rule of thumb: For every 10°C increase in air temperature, reduce time by ~15–20% to achieve similar color/moisture.
4. Common Temperature-Related Defects and Corrections
| Problem | Likely cause | Corrective action |
|---|---|---|
| Soggy / soft product | Baking temperature too low, or insufficient time | Raise temperature 10–20°C or slow belt speed. |
| Burnt surface, white core (case hardening) | Initial zone too hot | Lower zone 1 temperature, increase humidity or use gentler start. |
| Uneven color | Hot spots in oven, uneven airflow | Check burner or heater uniformity; adjust air distribution baffles. |
| Product cracking | Too rapid moisture removal | Lower temperature, increase humidity, or use longer gentler profile. |
| Shrinkage / warping | Over-drying or too high final temperature | Reduce final zone temperature by 10–15°C. |
| Off-flavor (burnt or acrid) | Maillard reaction too aggressive | Lower temperature, reduce sugar, or shorten bake time. |
5. Operational Best Practices
5.1. Preheat the Oven Properly
- Always preheat to setpoint before introducing product (typically 15–20 minutes).
- Allow the oven structure (walls, belt) to reach thermal equilibrium.
5.2. Calibrate Temperature Sensors Regularly
- Oven thermocouples can drift over time (±5–15°C). Calibrate every 3–6 months using a certified reference probe.
- Check temperature at multiple points across the belt width (edges are often cooler).
5.3. Use an Automated Control System
- Modern ovens with PID controllers and feedback from product moisture sensors (NIR or inline) automatically adjust temperature zones.
- Data logging helps trace batch-to-batch variations.
5.4. Adjust for Ambient Conditions
- In winter, cold room air entering the oven may require slightly higher zone 1 temperature.
- High humidity days → reduce exhaust rate or increase air temperature 5°C to compensate.
6. Example Temperature Profiles for Common Expanded Foods
| Product | Post-extrusion moisture | Oven type | Temperature profile (°C) | Belt time (min) |
|---|---|---|---|---|
| Direct-expanded cheese ball | 8–10% | 3-zone impingement | Z1=110, Z2=140, Z3=160 | 3–5 |
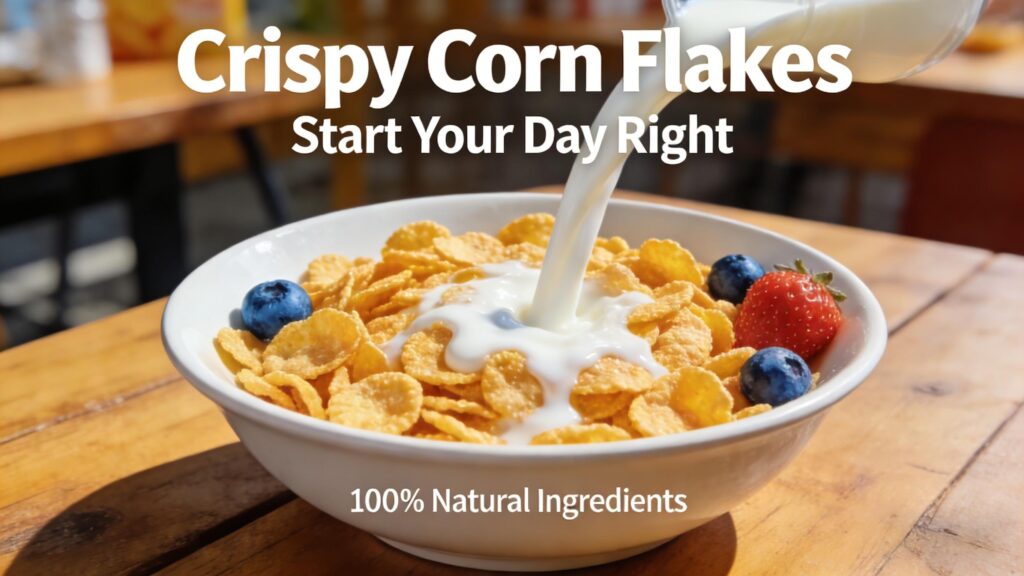
| Breakfast cereal flake | 10–12% | 4-zone convection | Z1=100, Z2=125, Z3=150, Z4=140 | 6–8 |
| Pellet (to be fried later) | 18–22% | Two-stage dryer | Stage1=90°C (30 min), Stage2=60°C (60 min) | 90 total |
| High-protein snack (extruded texturized) | 12–15% | Single-zone oven | 120°C (slow belt) | 10–15 |
7. Summary Checklist for Good Baking Temperature Control
- [ ] Know your product’s target final moisture and color.
- [ ] Measure extrudate moisture before baking.
- [ ] Preheat oven and check temperature uniformity.
- [ ] Set a multi-zone profile (low → medium → high → cooling).
- [ ] Monitor product surface temperature, not just air temperature.
- [ ] Adjust for sugar, fat, and product thickness.
- [ ] Watch for case hardening – reduce initial zone if seen.
- [ ] Calibrate sensors regularly.
- [ ] Log data and correlate with sensory quality (crispness, color, taste).
Summary
Baking temperature control for expanded foods is both a science and an art. snack extruder machine While extrusion sets the basic cellular structure, the oven transforms it into a finished product with the right crunch, color, and shelf life. By understanding heat and mass transfer, using zoned temperature profiles, and monitoring actual product conditions, you can achieve consistent quality batch after batch.
Always validate your oven settings with lab moisture analysis and sensory testing before scaling to full production.