
Extruded snacks—puffs, curls, rings, and balls—are among the most popular convenience foods worldwide. Their appeal lies in their light, crispy texture and bold flavors. However, producing consistently high-quality extruded snacks requires careful control of ingredients, equipment, and processes. Here are eight essential tips for making better extruded snack foods.
1. Start with the Right Raw Materials
The foundation of any good extruded snack is the flour blend. While corn meal is the most common base, many manufacturers use combinations of corn, wheat, rice, or potato starches.

- Choose the right particle size: Fine, uniformly ground flours hydrate more evenly and produce smoother, better-expanded products. Coarse flours can lead to gritty textures and uneven cooking.
- Control moisture content: Incoming raw materials should have consistent moisture, ideally around 10–12%. Variations in raw material moisture will disrupt the extrusion process and affect final product quality.
- Consider pre-gelatinized starches: Adding a small percentage of pre-gelatinized starch can improve expansion and create a lighter texture, especially when using whole grains or high-fiber formulations.
2. Optimize Feed Moisture for Maximum Expansion
Feed moisture is arguably the most critical variable in snack extrusion. It directly affects product expansion, density, and crispness.
- Lower moisture (12–15%): Promotes greater expansion, producing lighter, puffier snacks with a crispier bite. However, it increases mechanical energy input and can cause more wear on the extruder.
- Higher moisture (16–20%): Reduces expansion, resulting in denser, harder products. This is sometimes desirable for certain shapes or for snacks that will be coated with oils or seasonings.
- Rule of thumb: For most direct-expanded corn snacks, a feed moisture of 13–15% is the sweet spot. Always adjust moisture based on the specific formulation and the ambient humidity, which can affect dry ingredient moisture before extrusion.
3. Master the Temperature Profile
The temperature along the extruder barrel is not uniform, and each zone should be set strategically.
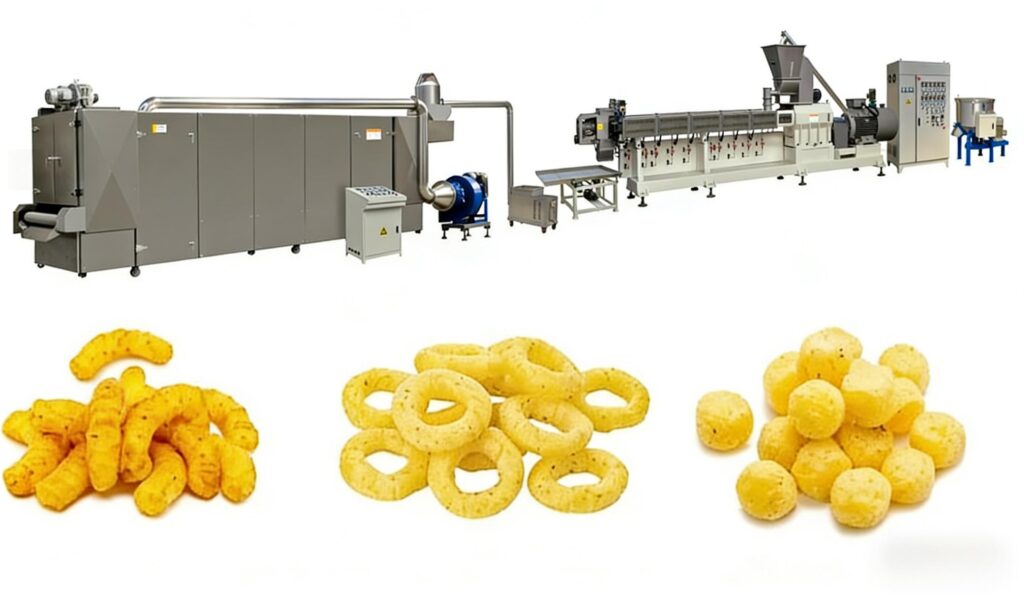
- Feed zone (60–80°C): Maintain a relatively cool temperature here to facilitate smooth conveying and prevent premature gelatinization or bridging in the feed throat.
- Transition zone (80–120°C): Gradually increase heat to begin cooking and melting the starch.
- Mixing/cooking zone (120–160°C): This is where most of the cooking occurs. Higher temperatures in this zone improve starch gelatinization and melt viscosity.
- Die zone (100–140°C): The temperature just before the die should be slightly lower to control the superheated steam that drives expansion at the die exit. Too high, and the product may over-expand and collapse; too low, and you’ll get poor puffing.
4. Control Screw Speed for Proper Shear
Screw speed regulates the residence time and shear intensity inside the barrel.
- Higher screw speeds (400–600 RPM): Increase shear, which breaks down starch molecules more thoroughly, improves melt homogeneity, and generally promotes higher expansion. However, excessive speed can overheat the melt and degrade the starch.
- Lower screw speeds (200–350 RPM): Increase residence time, allowing more cooking at lower shear. This is useful for heat-sensitive ingredients or formulations with added sugars, which can burn at high speeds.
- Balance is key: As a starting point, many snack extruders operate in the 300–450 RPM range. Monitor motor amperage—it’s a direct indicator of how much work the screws are doing and can signal problems with feed or moisture.
5. Design the Die for Desired Shape and Expansion
The die is the “mold” that shapes the snack. Its design has a profound impact on expansion and final product quality.
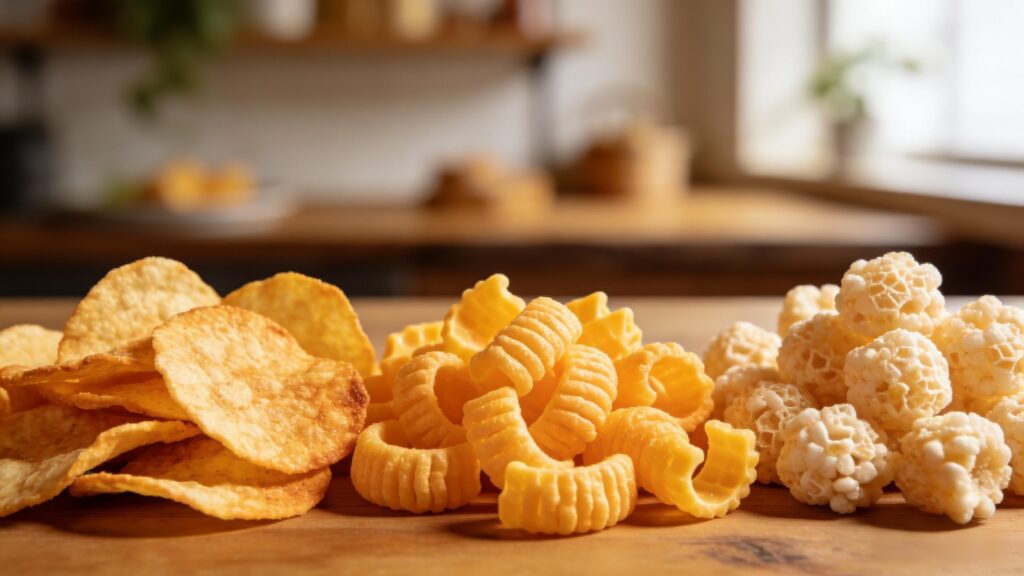
- Land length and die gap: Longer land lengths create more back-pressure, which results in greater expansion at the die exit. Shorter land lengths reduce pressure and yield denser products.
- Number and arrangement of holes: Multiple holes spread the flow evenly. Uneven flow leads to inconsistent shapes and sizes.
- Maintain clean dies: Resin or starch buildup in die holes causes “die drool” and leads to misshapen, burnt, or under-expanded pieces. Regular cleaning—including soaking and using brass tools to gently remove deposits—is essential.
6. Manage Post-Extrusion Drying and Toasting
The product leaving the extruder is typically too moist (5–8% moisture) for shelf stability and lacks its final crisp texture. Drying is critical.
- Use a multi-zone dryer: Progressive drying at controlled temperatures (80–120°C) prevents case-hardening, where the outside dries too fast and traps moisture inside.
- Final moisture target: Aim for 1.5–3.0% moisture for most extruded snacks. This ensures crispness and prevents microbial growth during storage.
- Consider toasting for flavor: Many snacks benefit from a short toasting step (e.g., 120–150°C for 2–5 minutes) after drying. This develops Maillard reaction flavors and adds a pleasant golden-brown color.
7. Apply Oil and Seasonings Smartly
Flavor and mouthfeel are largely determined by what happens after extrusion.

- Oil application: Use a continuous enrober or spray system to apply oil (usually at 5–15% of product weight). Oil not only carries flavors but also enhances crispness and mouthfeel. High-oleic oils, such as sunflower or canola, are preferred for their stability and healthier fat profile.
- Seasoning adhesion: For dry seasonings to stick, the oil must be applied first and uniformly. Tumble coaters are commonly used to ensure even coverage. The order matters: oil first, then seasoning, to maximize adhesion.
- Tumble gently: Over-tumbling can break fragile expanded snacks, creating fines and reducing product yield.
8. Implement Preventative Maintenance and In-Line Quality Control
Consistent product quality depends on reliable equipment and real-time process feedback.

- Preventative purge: Schedule regular in-machine purging with commercial purging compounds to prevent carbonized buildup on screws and barrel walls. This reduces black specks and ensures smooth changeovers.
- Monitor key variables continuously: Use sensors for barrel temperature, melt pressure, motor load (amperage), and feed rate. Data logging helps identify trends and prevents out-of-spec production before it happens.
- Inspect finished product: Regularly check expansion ratio, bulk density, color, and moisture. Even simple dimensional measurements (diameter and length) can reveal early signs of process drift.
Conclusion
Making superior extruded snacks is both a science and an art. By mastering raw material selection, extrusion parameters (moisture, temperature, and screw speed), die design, post-extrusion processing, and maintenance practices, manufacturers can consistently produce light, crispy, flavorful snacks that meet consumer expectations. The key is to treat each of these eight elements not as isolated steps, but as interconnected parts of a well-tuned production system.
 Moroccan Arabic
  English
  Russian
  Spanish
  Italian
  Arabic
  Portuguese
  German
  French
  Japanese
  Persian
  Belarusian