
Puffed snacks are loved for their light crunch, bold flavors, and addictive texture. But achieving that perfect puff—uniform, crispy, and flavorful—requires more than just heat and flour. Based on real production experience, here are 10 concrete suggestions to help you consistently produce top-quality puffed products, whether you’re using an extruder, frying line, or oven.
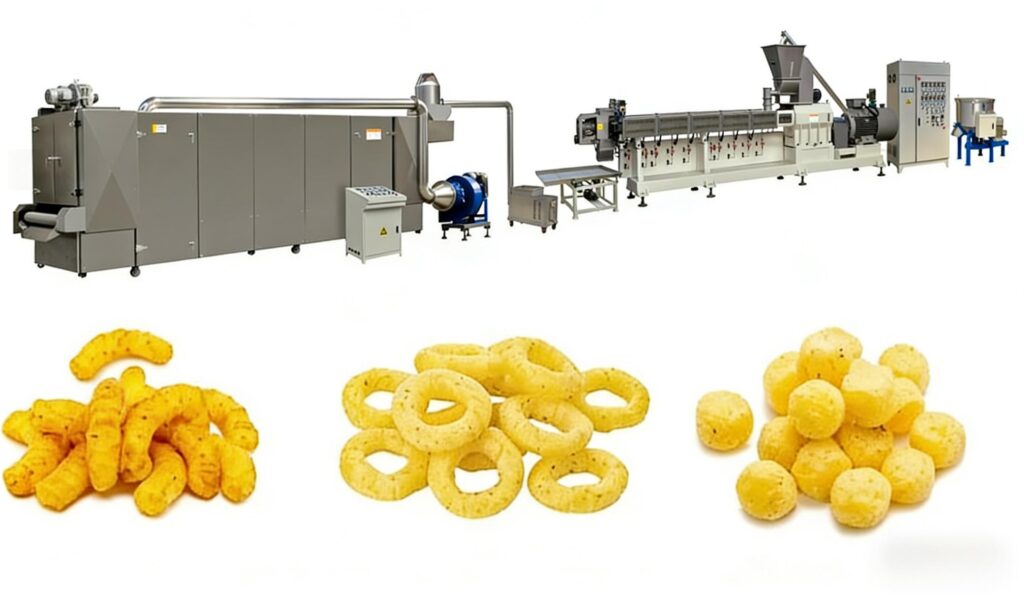
Suggestion 1 – Start with a Blended Flour, Not a Single Grain
Single flours (e.g., pure cornmeal or pure rice flour) often give inconsistent results. Instead, blend 70% corn with 20% rice and 10% tapioca starch. The tapioca adds lightness, rice improves crispness, and corn provides the classic savory backbone. Always sieve the blend through a 60-mesh screen to remove fibrous particles that block die holes.

Suggestion 2 – Pre-Condition Your Dough for 10 Minutes
Don’t rush straight into cooking. After mixing water with flour, let the dough rest in a covered hopper for 10–15 minutes. This “hydration rest” allows water to penetrate starch granules evenly, reducing dry spots. You’ll see a 15–20% improvement in expansion consistency, and fewer bent or broken puffs.
Suggestion 3 – Calibrate Your Feeder Speed to Match Screw Speed
A common mistake is running the feeder too fast or too slow relative to the extruder screw. The rule of thumb: feeder speed (RPM) should be 70–80% of screw speed. If the feeder outruns the screw, the barrel overloads and overheats; if it lags, the screws run dry, causing abrasive wear and uneven puffing. Check both tachometers daily.

Suggestion 4 – Add 0.5% Baking Soda for Extra Lift
For oven-baked or indirectly heated puffs, add a small amount of leavening (baking soda + a food-grade acid like sodium acid pyrophosphate) at 0.5% of flour weight. This generates extra CO₂ gas alongside steam, giving you a 10–15% larger volume without altering flavor. But never exceed 1%—it leaves a bitter, soapy aftertaste.
Suggestion 5 – Monitor Die Temperature, Not Just Barrel Temperature
Most operators watch the barrel zones but ignore the die head. The die should be 10–15°C cooler than the final barrel zone. Why? A cooler die increases dough viscosity just before exit, creating sharper expansion when pressure drops. Install a separate thermocouple at the die plate and adjust with a cooling jacket if needed.
Suggestion 6 – Cut Puffs While Still Hot (But Not Too Short)
For extruded puffs that are cut at the die, timing matters. Cut immediately after exit, but set the cutter to leave 2–3 cm lengths—longer puffs break during tumbling, shorter ones look cheap. For fried puffs, cut before frying (as pellets), then fry them later; this gives you better control over oil absorption and shape uniformity.
Suggestion 7 – Use a Two-Stage Drying for Baked Puffs
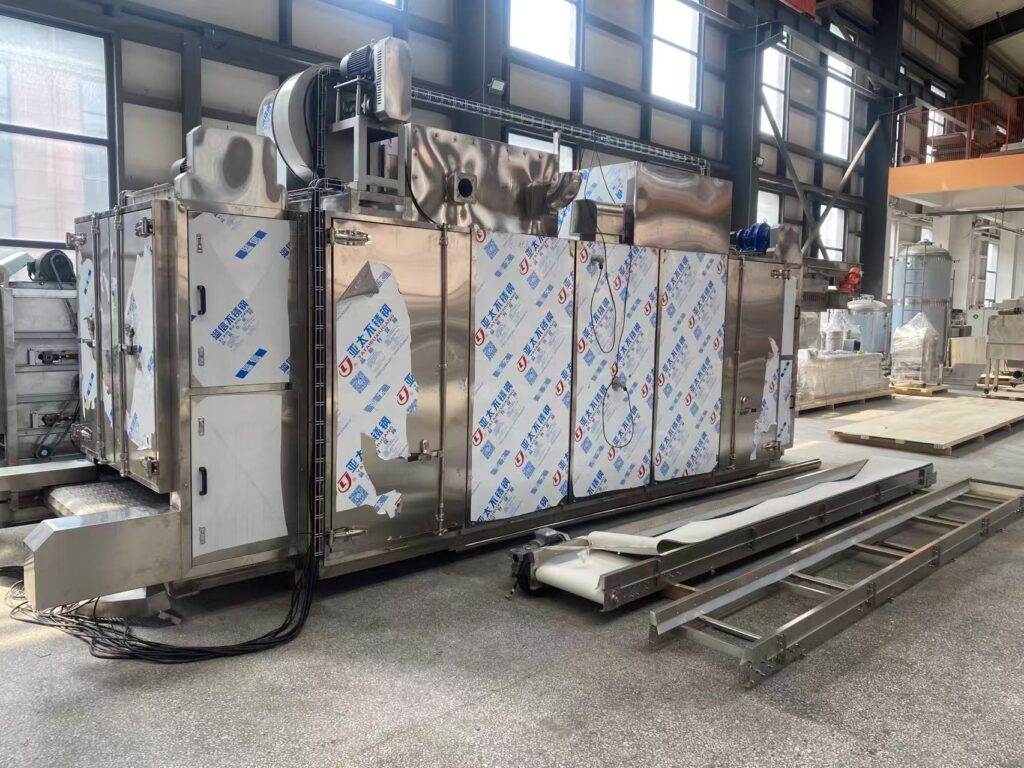
If you’re making baked (not fried) puffs, never dry them at a single high temperature. Instead, use two stages: 10 minutes at 80°C (low) to remove free moisture, then 5 minutes at 150°C (high) to drive out bound water and set the structure. This two-step method reduces case-hardening (crusty outside, doughy inside) by nearly 40%.

Suggestion 8 – Tumble Seasonings in Small Batches (≤ 20 kg)
Large tumblers with 50+ kg batches create uneven seasoning coverage—the bottom puffs get over-coated while the top stay bare. Keep batch sizes under 20 kg and tumble for 4–6 minutes at 20–25 RPM. Also, add the oil first, tumble for 1 minute, then add powder seasonings—this improves adhesion by up to 60%.
Suggestion 9 – Add a Desiccant Packet Inside Bulk Storage
Humidity is the silent killer of puffed snacks. Even after packaging, if you store bulk product in bins before bagging, place food-grade silica gel packets (or use dehumidified air) to keep relative humidity below 50%. At 60% RH, puffs lose crunch within 8 hours; at 70%, they become leathery in just 2 hours.

Suggestion 10 – Run a “Break Test” Every Hour
Don’t wait for the end of the shift to check quality. Every 60 minutes, take 10 random puffs and press them between your thumb and forefinger. A perfect puff shatters cleanly into 4–5 pieces; if it crushes into powder, it’s overcooked; if it bends without breaking, it’s undercooked. Adjust temperature or moisture immediately based on this quick physical test—it’s faster than lab analysis and catches drift early.

Final Advice: Keep a production log for each batch—record flour blend, moisture %, temperatures, and screw speeds. After 50 batches, you’ll see clear patterns linking your settings to puff quality. Consistency isn’t about luck; it’s about disciplined adjustment. Start with these 10 suggestions, and you’ll cut waste, boost yield, and deliver puffs that stay crispy from the first bite to the last.
 Russian
  English
  Spanish
  Italian
  Arabic
  Portuguese
  German
  French
  Japanese
  Moroccan Arabic
  Persian
  Belarusian