
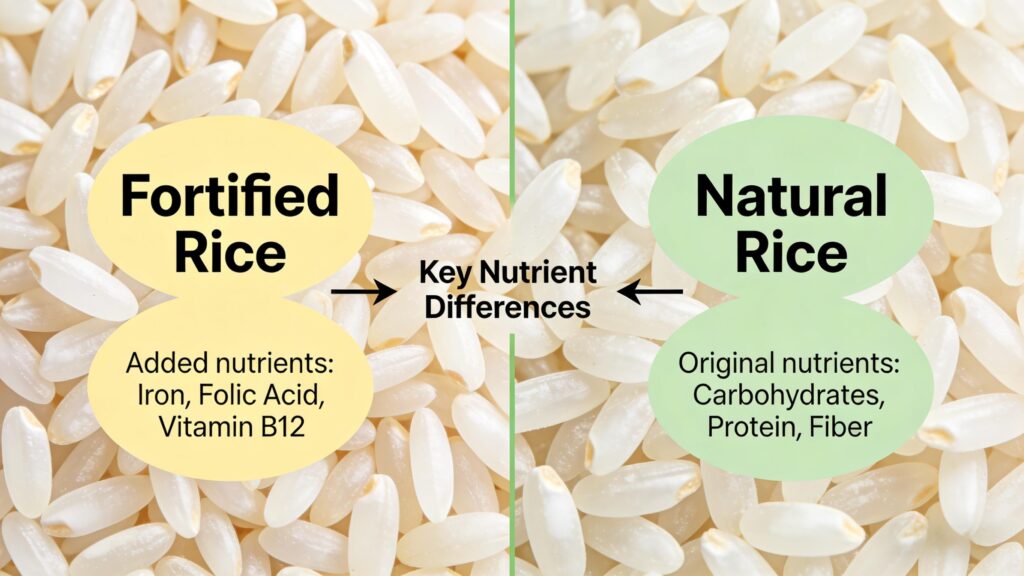
Fortified rice—often called “enhanced” or “enriched” rice—is ordinary milled rice that has been coated or blended with vital micronutrients (iron, zinc, vitamin A, B-complex vitamins) to combat malnutrition. However, processing fortified rice is not as simple as spraying on nutrients. If done incorrectly, you lose nutrients, ruin texture, or create an unappealing product.
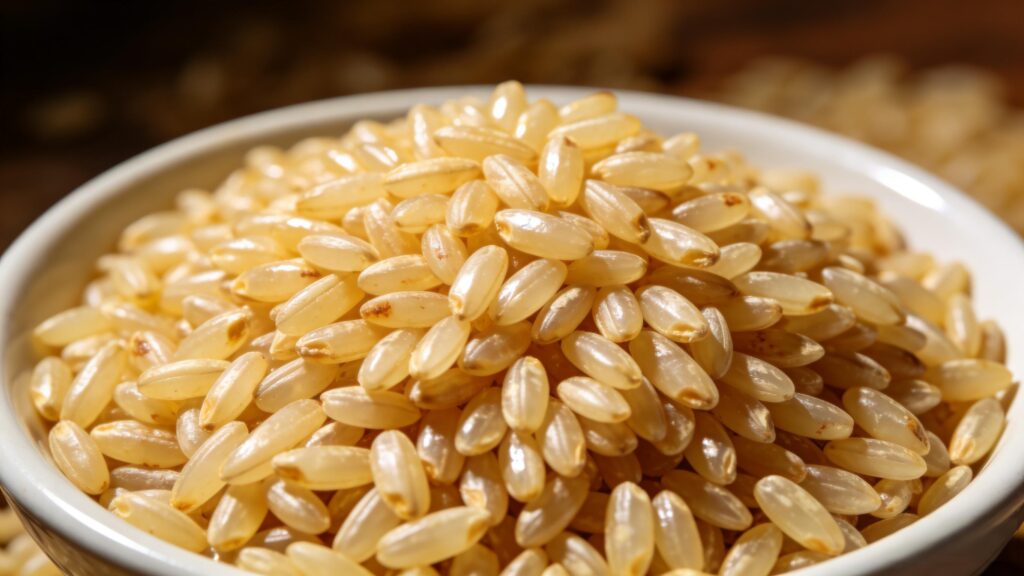
Here are seven practical, science-backed tips to help you produce high‑quality fortified rice that retains its nutrients, cooks evenly, and tastes great.
1. Start with the Right Base Rice Variety
Not all rice is suitable for fortification.
- Choose long‑grain or medium‑grain milled white rice with low broken‑grain content (below 5%).
- Avoid high‑amylose varieties that become too firm, or waxy glutinous rice that turns sticky—both interfere with uniform coating.
- Why it matters: A uniform grain size and shape ensure that the fortificant blend adheres evenly and that the final product looks and cooks like regular rice, which improves consumer acceptance.
2. Optimize the Coating Method – Extrusion vs. Spray‑Drying vs. Dusting
There are three main fortification techniques; choose based on your budget and scale:
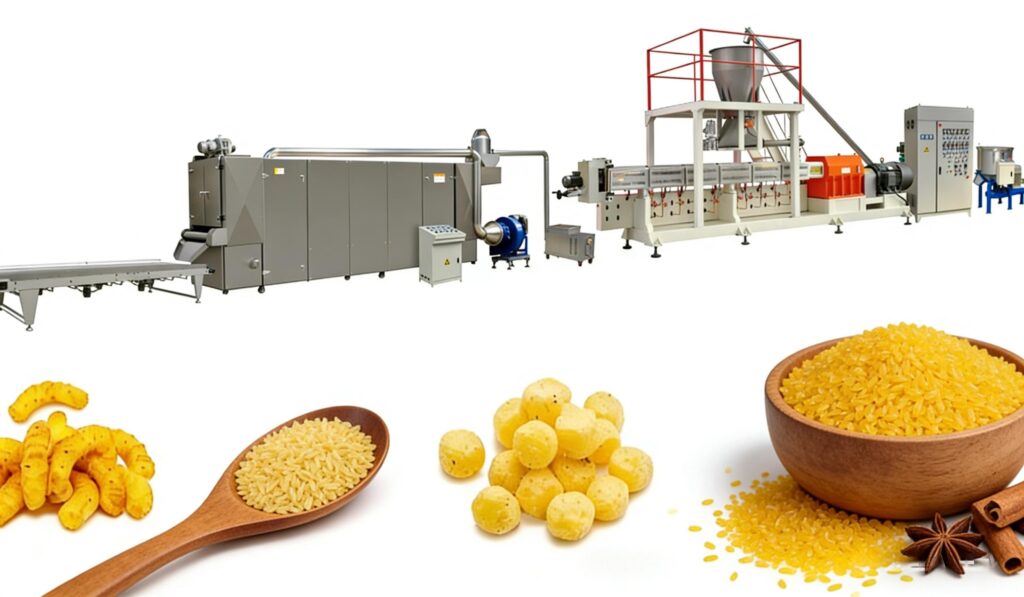
- Extrusion (hot‑or‑cold): Mix rice flour, fortificant premix, and water, then extrude into kernel‑shaped granules that mimic rice. These “fake grains” are blended with natural rice at a ratio of 1:100 to 1:200. This offers the best nutrient retention during washing and cooking.
- Spray‑coating: Spray a liquid nutrient solution onto polished rice, then dry. Fast and cheap, but nutrients can wash off easily.
- Dusting (powder coating): Dry‑mix nutrients with oil or gum arabic as a binder. Least expensive but poorest stability.
Recommended: For large‑scale production with high quality, use cold‑extrusion—it preserves heat‑sensitive vitamins (like B1 and B9) and produces durable kernels that survive rinsing.
3. Control Moisture Content Throughout Processing
Moisture is the enemy of both texture and nutrient stability.
- Keep in‑process moisture between 12% and 14% – anything above 14% encourages mould and vitamin degradation; below 12% makes rice brittle and increases breakage.
- During drying after coating, use low‑temperature airflow (40–45°C) rather than high‑heat flash drying.
- Critical check: Measure moisture at every stage—pre‑milling, after parboiling (if used), after coating, and before packaging. Use a calibrated moisture metre, not guesswork.
4. Use a Protective Barrier Coating to Lock in Nutrients
Water‑soluble vitamins (especially B1, B9, and vitamin C) leach into cooking water. To prevent this:
- Apply a thin edible film – e.g., ethyl cellulose, hydroxypropyl methylcellulose (HPMC), or gum arabic – over the fortified layer.
- The barrier should be 0.02–0.05 mm thick – enough to protect during 2–3 rinses and 15‑minute soaking, but thin enough to dissolve during boiling.
- Pro tip: Add a natural antioxidant (like mixed tocopherols or rosemary extract) into the barrier to slow oxidation of unsaturated fats and vitamin A.
5. Fortify with “Premix” That Matches Local Deficiency Profiles
One size does not fit all.
- In regions with high anaemia, prioritise ferric pyrophosphate (encapsulated iron) over ferrous sulfate – it is less reactive, does not cause rancidity, and is whiter in colour.
- For vitamin A, use encapsulated retinyl palmitate – it survives higher extrusion temperatures.
- Always work with a reputable premix supplier and request a Certificate of Analysis for each batch.
- Golden rule: Add 10–15% overage (extra nutrients) to compensate for losses during milling, storage, and cooking – but never exceed national food safety limits.
6. Implement a Strict Two‑Step Quality Control Check
Don’t wait until the end of the line to test.
- Step 1 – Visual/Sensory check (every hour): Colour uniformity, kernel integrity, and odour. If you smell rancid or “fishy” odours, oxidation has begun—stop and check your storage temperature.
- Step 2 – Laboratory check (per batch): Measure iron content via spectrophotometry and vitamin A via HPLC. Also run a cooking test – cook 200 g of fortified rice and measure the nutrient concentration in the drained water. If loss exceeds 30%, adjust your barrier coating or reduce rinsing time in your packaging instructions.
7. Package Correctly – Light, Oxygen, and Humidity Are Your Enemies
Even perfectly fortified rice can become useless within weeks if packaged poorly.

- Use multi‑layer laminated bags (e.g., PET/AL/PE) that block 99% of UV light and are moisture‑proof.
- Flush the bag with nitrogen before sealing to displace oxygen – this slows vitamin A and fat oxidation significantly.
- Store finished product in a cool, dry area below 25°C and below 60% relative humidity.
- Label clearly with a “Do not wash more than twice” instruction – excessive washing removes the outer fortified layer, wasting your effort.
Processing fortified rice is a delicate balance between nutrition science, food engineering, and consumer habits. By following these seven tips—from base grain selection to barrier coatings to smart packaging—you can produce a product that genuinely improves public health without sacrificing taste or cooking performance.
Start small, test often, and always listen to your end‑users. Good fortification is invisible; bad fortification is unforgettable. Make yours the good kind.
 Russian
  English
  Spanish
  Italian
  Arabic
  Portuguese
  German
  French
  Japanese
  Moroccan Arabic
  Persian
  Belarusian