
Introduction
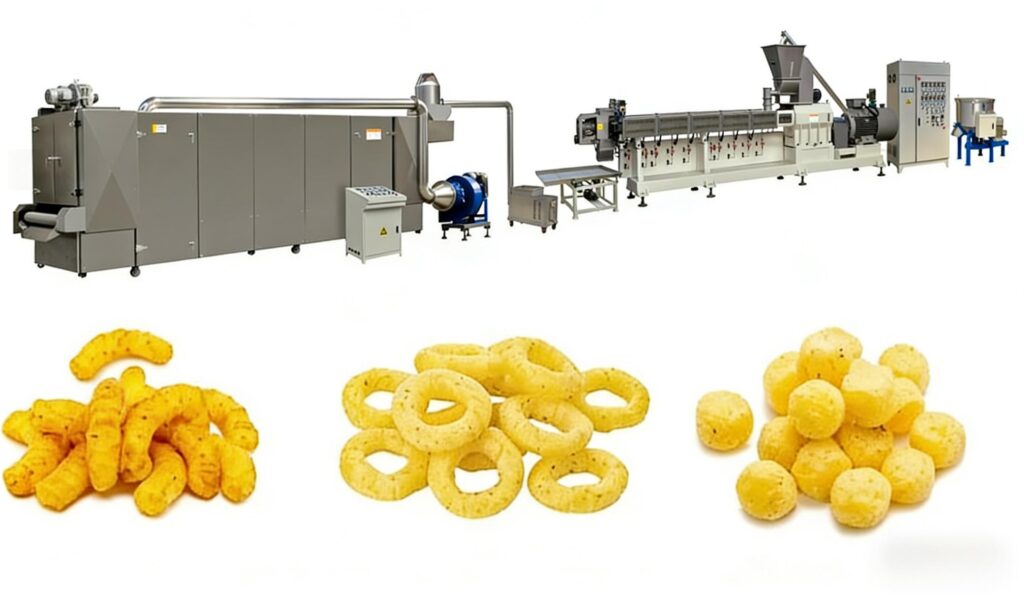
Puffed snacks—extruded corn curls, rice crisps, or air-popped pellets—present a unique culinary paradox. Their expanded, porous structure makes them delightfully light and crispy, yet that same cellular sponge-like matrix actively repels dry powdered seasoning. Unlike fried potato chips, which have a flat, oily surface for seasonings to cling to, puffed snacks are hydrophilic on the inside and hydrophobic on the outside. Mastering seasoning application is therefore not a matter of “sprinkling,” but a precise science of electrostatic attraction, oil delivery systems, and particle size engineering.
The Fundamental Challenge: Static vs. Surface
Puffed snacks are created through high-temperature, high-pressure extrusion. As the moisture rapidly expands and escapes, it leaves behind a network of air cells. The exterior surface is typically dry and slightly rough, but lacks the tackiness required for dry powders to adhere. Without intervention, 60-70% of your seasoning blend will simply fall to the bottom of the bowl. The key is to create a temporary “glue” layer that holds the seasoning until the moisture from the snack or the oil absorption locks it in place.
Phase 1: The Carrier System (Oil and Emulsions)
The most reliable method for seasoning adhesion is the oil spray system. However, the type and timing of oil application are critical.
- Temperature Matters: Oil must be applied while the puffed snack is still warm—ideally between 120°F and 150°F (49°C–65°C)—immediately after extrusion or baking. Warmth reduces oil viscosity, allowing it to spread thinly and penetrate the surface pores rather than pooling.
- Quantity Control: The industry standard is 8% to 12% oil by weight. Below 8%, powder adhesion drops dramatically; above 14%, the snack becomes greasy and loses its characteristic crispness.
- Type of Oil: Choose neutral oils with a high smoke point (canola, sunflower, or rice bran oil). Avoid olive oil or butter (unless clarified), as their solids content can create uneven coating.
- Advanced Technique – Emulsion Sprays: For water-soluble flavors (e.g., sour cream, cheese powders), a fine mist of water-in-oil emulsion can be sprayed. The water flash-evaporates upon contact with the warm snack, leaving behind a microscopic film of oil-flavor slurry that bonds more intimately than oil alone.
Phase 2: Particle Size Engineering (The Powder Itself)
Not all powders are equal. Seasoning adhesion is directly proportional to particle fineness.

- Optimal Micron Range: For puffed snacks, the seasoning particle size should range between 50 and 150 microns. Particles smaller than 50 microns are too light and become airborne; particles larger than 200 microns bounce off the hard surface due to inertia.
- Agglomeration Prevention: Many seasoning blends (especially those containing onion or garlic powder) are hygroscopic and tend to clump. To counteract this, incorporate 1-2% silicon dioxide (silica) as an anti-caking agent. This acts as a flow agent, ensuring the powder disperses evenly through the applicator.
- The “Carrier” Strategy: For intensely flavored but expensive ingredients (e.g., truffle powder or aged cheddar), blend them with a neutral carrier like toasted corn flour or maltodextrin. This increases the volume of the powder without diluting flavor, giving you more “coverage area” per gram.
Phase 3: The Application Methodology (Tumbling vs. Coating)
The physical action used to apply the seasoning is as important as the ingredients.
- The Tumble Coater: This is the gold standard. A rotating drum gently agitates the warm, oil-sprayed snacks while powdered seasoning is metered in. The tumbling action creates friction, and friction generates a mild electrostatic charge. This charge actually attracts the powder particles to the snack surface, temporarily holding them in place even before the oil sets.
- Critical Parameter – Tumble Speed: Too fast, and the snacks break; too slow, and the powder does not distribute evenly. The ideal rotational speed creates a cascading “avalanche” effect, where chips tumble from the 10-o’clock position to the 4-o’clock position.
- Batch vs. Continuous: For home or small-batch production, use a large mixing bowl and toss with a gentle folding motion—never crush. For commercial settings, a continuous auger system with vibrating sieves ensures uniform powder feed.
Phase 4: Sequential Layering (The Flavor Cascade)
One common mistake is applying all seasoning at once. Instead, adopt a layering approach:
- Base Layer: Apply 50% of the oil spray, followed by 50% of the dry seasoning. Tumble for 30 seconds.
- Middle Layer: Apply the remaining 50% of the oil spray, followed by the remaining 50% of the seasoning.
- Final Blast: For the last 10 seconds, introduce a fine mist of liquid flavor (e.g., vinegar solution or chili extract) while continuing to tumble.
This sequential method creates a micro-structure: seasoning particles are embedded in successive layers of oil, dramatically reducing fallout. The final liquid mist also triggers a minute amount of starch gelatinization on the surface, which acts as a natural binder.

Phase 5: Addressing “Flavor Masking” and Aftertaste
Puffed snacks often have a bland, slightly starchy base note. To overcome this:
- Boosting Salt Perception: Salt is a flavor potentiator. However, salt crystals dissolve slowly. Use micronized salt (finer than table salt) to increase the surface area of dissolution, providing an immediate salty hit before the starch taste registers.
- Acid Balance: For cheese or savory flavors, adding a dash of citric acid powder (0.2–0.5% of total weight) brightens the profile and reduces the perception of oiliness.
- Yeast Extract Synergy: Incorporate a small percentage of autolyzed yeast extract. This provides glutamates (umami) that bind with the Maillard reaction products on the puffed surface, creating a “halo effect” that makes the seasoning taste more robust than its actual concentration.
Phase 6: The Final Rest (Curing)
After coating, the snacks should be spread on a wire rack and allowed to rest at room temperature for 15–20 minutes. This “curing period” serves two functions:
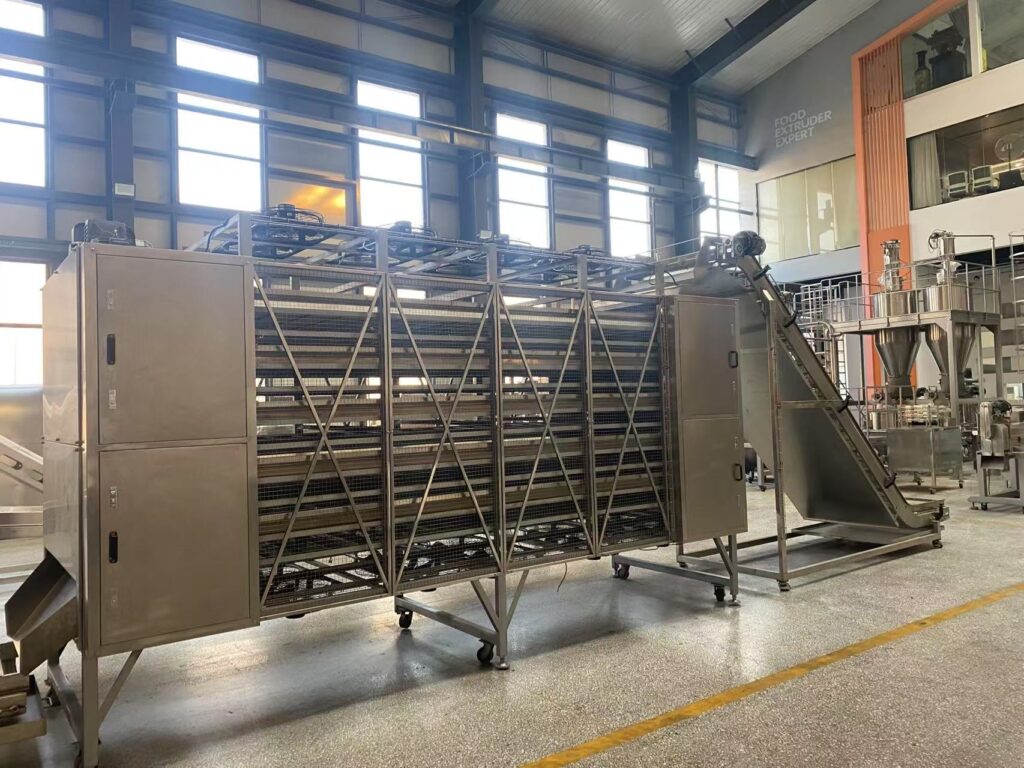
- The oil migrates slightly into the micro-pores, anchoring the powder.
- Moisture equilibrium is reached; the seasoning absorbs a tiny fraction of humidity from the air, softening its sharp crystalline edges and allowing it to “melt” on the tongue rather than tasting chalky.
Troubleshooting Common Issues
| Problem | Likely Cause | Solution |
|---|---|---|
| Seasoning falls to the bottom | Insufficient oil; snack too cold | Increase oil % to 10%; apply oil at >140°F |
| Clumpy, uneven patches | Powder too humid; oil sprayed too heavily | Add silica; use a finer mist nozzle |
| Chalky mouthfeel | Particles too large (>200 microns); no curing time | Regrind powder; rest for 20 minutes post-coating |
| Flavor fades within a day | Oxidation of oil-soluble flavor compounds | Add a natural antioxidant (rosemary extract, vitamin E) to the oil |
| Burnt/bitter aftertaste | Oil overheated during spray; Maillard overreaction | Cool oil before spraying; reduce snack exit temperature |
Conclusion
Successful seasoning of puffed snacks is an orchestrated interplay of thermodynamics, particle physics, and sensory chemistry. The oil is not a fattening agent—it is a delivery vehicle. The powder is not simply a flavor—it is a system of crystals and colloids. And the tumbling process is not random agitation—it is controlled electrostatic deposition. By mastering the carrier, the particle size, the application sequence, and the resting period, you transform a bland, airy puff into a flavor-saturated matrix that delivers a clean, resonant taste with every single bite. The goal is not merely to coat the surface, but to integrate the flavor into the very structure of the puff itself.
 Persian
  English
  Russian
  Spanish
  Italian
  Arabic
  Portuguese
  German
  French
  Japanese
  Moroccan Arabic
  Belarusian