
Breakfast corn flakes are one of the world’s most beloved ready‑to‑eat cereals. But behind their simple appearance lies a complex process of cooking, flaking, drying, and toasting. corn flakes making machine A tiny misstep—too much moisture, uneven rolling, or incorrect toasting time—can turn crisp flakes into chewy, burnt, or soggy disappointments.

Here are five core guidelines to help you produce consistently golden, crunchy, and flavourful corn flakes, whether you are scaling up from a pilot line or optimising an existing industrial operation.
1. Start with Properly Conditioned Corn Grits – Not Flour
Corn flakes begin with degerminated yellow corn grits, not whole cornmeal or flour. Grits provide the necessary particle size and starch structure for proper cooking and rolling.
- Critical step: Cook the grits under pressure (typically 1–1.5 bar) with added water, sugar, malt syrup, and salt until the starch is fully gelatinised. Target a cooked moisture content of 28–32% – this is the “sweet spot” for subsequent flaking.
- Why it matters: If moisture is too low, the cooked mass will be crumbly and will not form a cohesive dough. If too high, the flakes will stick to the rollers and take excessively long to dry.
- Pro tip: Allow the cooked grits to temper (rest) for 2–4 hours at 60–70°C before flaking. This equilibrates moisture throughout the mass, reducing the risk of brittle or uneven flakes.
2. Roll to a Uniform Thickness – Precision Is Everything
After cooking and tempering, the soft mass is passed through flaking rollers (usually twin counter‑rotating steel rolls). corn flakes making machine This is the single most important physical step.
- Set the roller gap to produce flakes with a thickness of 0.3–0.5 mm. Thicker flakes take longer to toast and yield a hard, “stale” bite; thinner flakes break easily during packaging and transport.
- Keep roller temperature consistent – cool the rollers with circulating water to prevent the sticky dough from adhering.
- Monitor roll speed differential: A slight speed difference between the two rolls (e.g., 10–15% faster on one side) helps peel the flake off cleanly without tearing.
- Action check: Every 30 minutes, measure 20 random flakes with a digital calliper. If the standard deviation exceeds 0.05 mm, adjust the roller pressure immediately.
3. Dry Before Toasting – Never Skip the Intermediate Step
A common mistake is moving wet flakes straight from the rollers into the high‑heat toaster. corn flakes making machine That leads to case‑hardening: the outside burns while the inside remains doughy.
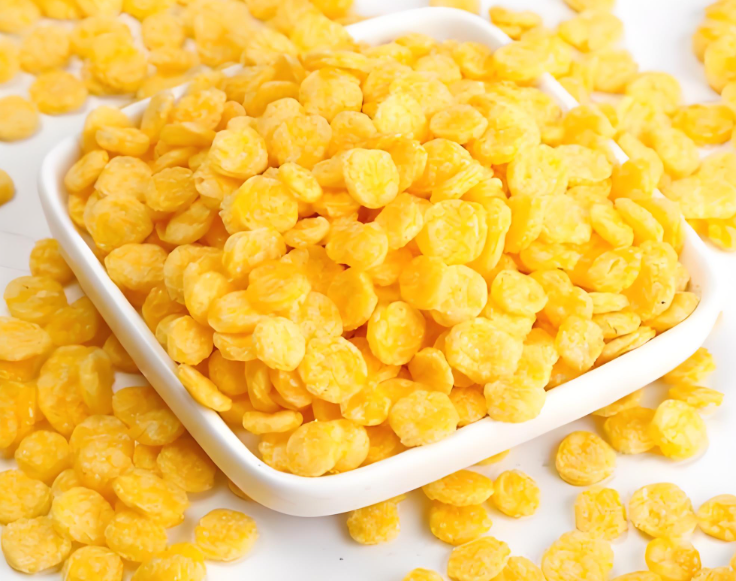
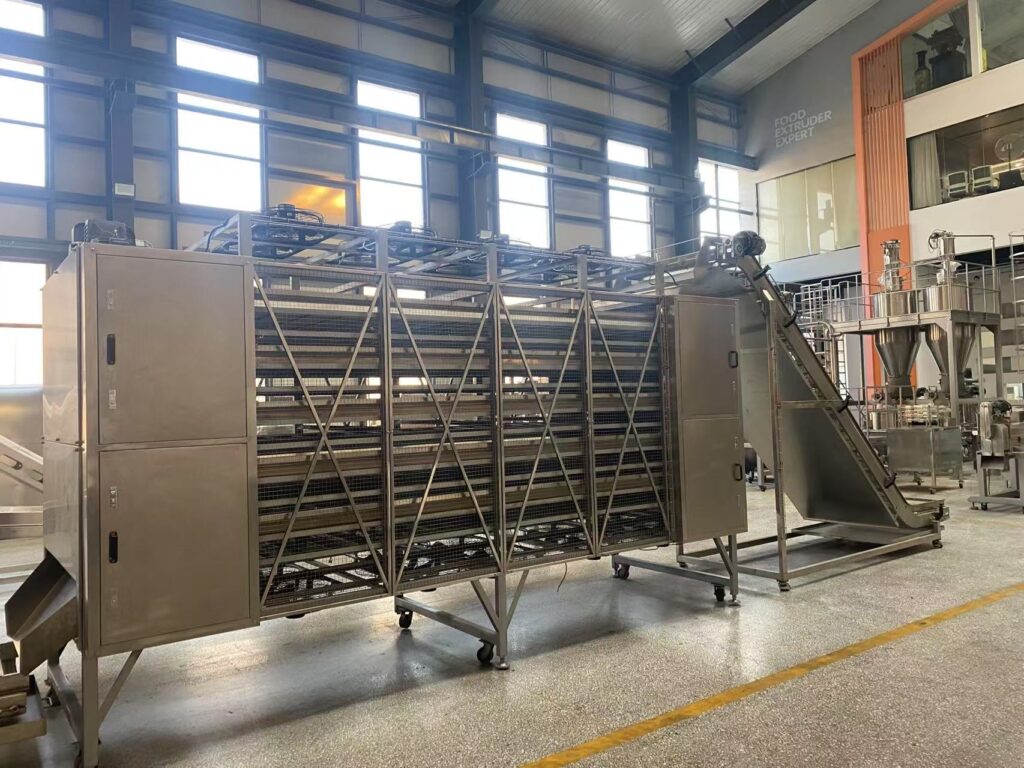
- Install an intermediate pre‑dryer (convection or belt dryer) that reduces moisture from ~28% down to 10–12% at a mild temperature of 80–100°C for 15–20 minutes.
- This pre‑drying sets the starch network and creates the porous internal structure that gives corn flakes their classic crispiness.
- Rule of thumb: The flake should feel leathery, not sticky, when entering the toaster. If it sticks to your glove, it is not dry enough.
4. Toast with Controlled Heat and Airflow – Develop Colour and Crispness
Toasting is where flavour and texture are born. In the rotary or fluid‑bed toaster, the flakes undergo Maillard reactions and caramelisation at 230–280°C for 2–4 minutes.

- Key parameters to control:
- Inlet air temperature: 250°C ± 10°C
- Outlet air temperature: 110–120°C (indicates proper moisture removal)
- Residence time: Adjust by belt speed – too short, and flakes are pale and raw‑tasting; too long, and they become dark and bitter.
- Airflow distribution must be even across the entire belt. Use baffles to prevent “hot spots” – localised burning is a common quality defect.
- Target final moisture: 2–3%. At this level, the flakes are shelf‑stable and shatter with a clean “snap” when bitten.
5. Apply a Thin Sugar/Fat Coating (Optional but Recommended) and Cool Immediately
Most commercial corn flakes receive a light spray of sugar solution, malt syrup, or oil (sometimes with added vitamins) after toasting, while they are still hot.
- If you apply a coating, use a fine mist nozzle at the toaster exit, followed by a short enrober drum to distribute evenly. The coating should not exceed 6–8% by weight – any more, and flakes become cloyingly sweet and lose their crispness.
- Immediate cooling is non‑negotiable: Pass the coated flakes through a cooling tunnel with ambient or chilled air until they reach 30–35°C before packaging.
- Why? Hot flakes are soft; if you pack them warm, residual moisture condenses inside the bag, turning your product chewy within days. Also, rapid cooling locks in the brittle, glassy structure of the starch.
Final Quality Checklist Before Packaging
| Parameter | Target Value |
|---|---|
| Thickness | 0.35–0.45 mm |
| Final moisture | 2.0–3.0% |
| Colour (Hunter L value) | 68–72 (golden yellow, not brown) |
| Bowl life (crispness in milk) | ≥ 5 minutes at 20°C |
Closing Thought

Producing great corn flakes is 80% process control and 20% ingredient quality. corn flakes making machine The five guidelines above—conditioned grits, precise rolling, mandatory pre‑drying, disciplined toasting, and rapid cooling—form the backbone of any reliable cornflake line.
Remember: Consistency beats complexity. Monitor every parameter, document every batch, and taste your product daily. A flake that looks perfect but tastes stale is a flake that loses customers. Master these basics, and your breakfast cereal will earn a permanent place on the table.
 Spanish
  English
  Russian
  Italian
  Arabic
  Portuguese
  German
  French
  Japanese
  Moroccan Arabic
  Persian
  Belarusian