
From the golden rings of Corn Flakes to the crunchy clusters of granola and the puffed shapes of Cocoa Puffs, breakfast cereals are a staple in millions of homes. cereal extrusion Behind every bowl lies a sophisticated sequence of industrial processes that transform raw grains into shelf-stable, flavorful, and texturally perfect products.
This guide walks you through the entire production workflow—from grain receiving to the final box—covering the most common cereal types: flaked, puffed, and extruded/shaped cereals.
1. Raw Material Receiving & Cleaning
Every cereal begins with grain—typically corn, wheat, rice, oats, or barley.
Steps:
- Sampling & Testing: Moisture content (<14%), mycotoxin levels (aflatoxin), insect damage, and protein content are analyzed in a quality control lab.
- Magnetic Separation: Powerful magnets remove ferrous metal contaminants.
- Screening: Vibrating screens separate grains by size and remove chaff, stones, dust, and broken kernels.
- Aspiration: Air currents blow off lightweight impurities (husks, straw).
Output: Clean, uniform grains ready for milling or conditioning.
2. Milling & Size Reduction (for some products)
For cereals that require flour (e.g., extruded shapes like Cheerios or Cocoa Puffs), grains are milled.

- Hammer Mill – Grinds grain into coarse or fine flour (mesh size 0.5–2.0 mm).
- Roller Mill – Produces more uniform particle size for specialty recipes.
Note: For flaked cereals like Corn Flakes, whole grains are not milled initially; they are cooked whole.
3. Mixing & Blending (Dry & Wet Ingredients)
Depending on the cereal type, dry and liquid ingredients are combined into a homogeneous mixture.
Typical ingredients:
- Grain flour or grits
- Sugar (sucrose, dextrose, honey, or malt syrup)
- Salt
- Malt extract (for flavor and browning)
- Vitamins & minerals (added later via spray coating)
- Water
Equipment: Ribbon blender or paddle mixer. cereal extrusion Mixing time: 2–10 minutes.
Target moisture after mixing: 25–35% for flaking; 12–18% for direct expansion.
4. Cooking / Conditioning – The Heart of Cereal Making
Cooking gelatinizes starch, denatures proteins, and develops flavor precursors. Methods vary by product.
A. Batch Cooking (for flaked cereals)
- Grains + flavor syrup + water are cooked in a pressure cooker or rotary steam cooker.
- Conditions: 100–150°C (212–302°F) at 15–25 psi for 1–3 hours.
- Result: Soft, translucent, fully hydrated grains.
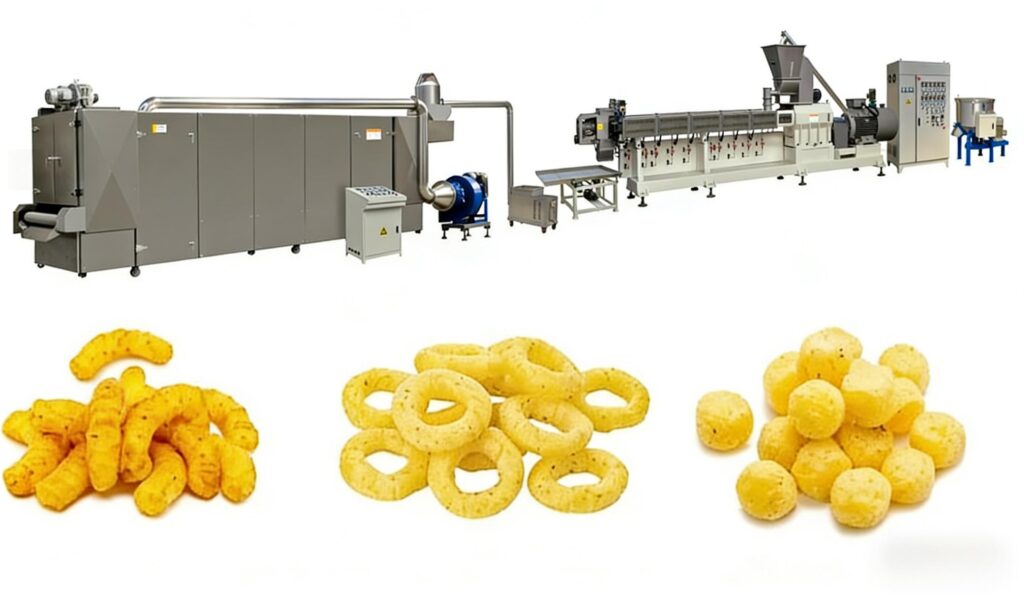
B. Extrusion Cooking (for puffed & shaped cereals)
- A twin-screw extruder mixes, cooks, and shapes in one continuous step.
- Conditions: 120–180°C (248–356°F) at 30–150 psi.
- Residence time: 15–60 seconds (much faster than batch cooking).
C. Oven cooking (for granola)
- Ingredients are mixed, then baked at 120–150°C without pressure.
5. Tempering (Resting) – Critical for Flaked Cereals
After cooking, the grains are too sticky and hot to flatten. They must rest.
Flake cereal process:
- Cooked grains are transferred to holding bins.
- Tempering time: 6–24 hours at room temperature.
- Purpose: Moisture equalizes throughout the kernel; the grain becomes firm yet pliable.
For extruded cereals, there is no tempering step – they go directly from extruder to cutter.
6. Forming / Shaping – Creating the Final Structure
| Cereal Type | Forming Method | Equipment |
|---|---|---|
| Flaked (Corn Flakes) | Flattening | Flaking rolls (two large counter-rotating steel rolls) → produces thin flakes |
| Puffed rice/wheat | Explosion puffing | Gun puffing – grains heated in a pressure chamber, then suddenly released |
| Extruded shapes (rings, balls, stars) | Die extrusion | Extruder forces dough through a shaped die plate; rotating knife cuts to length |
| Granola | Hand-broken or pressed | Light compaction between rollers, then broken into clusters |
Key parameter for flaking: Roll gap adjusted to 0.2–0.5 mm thickness.
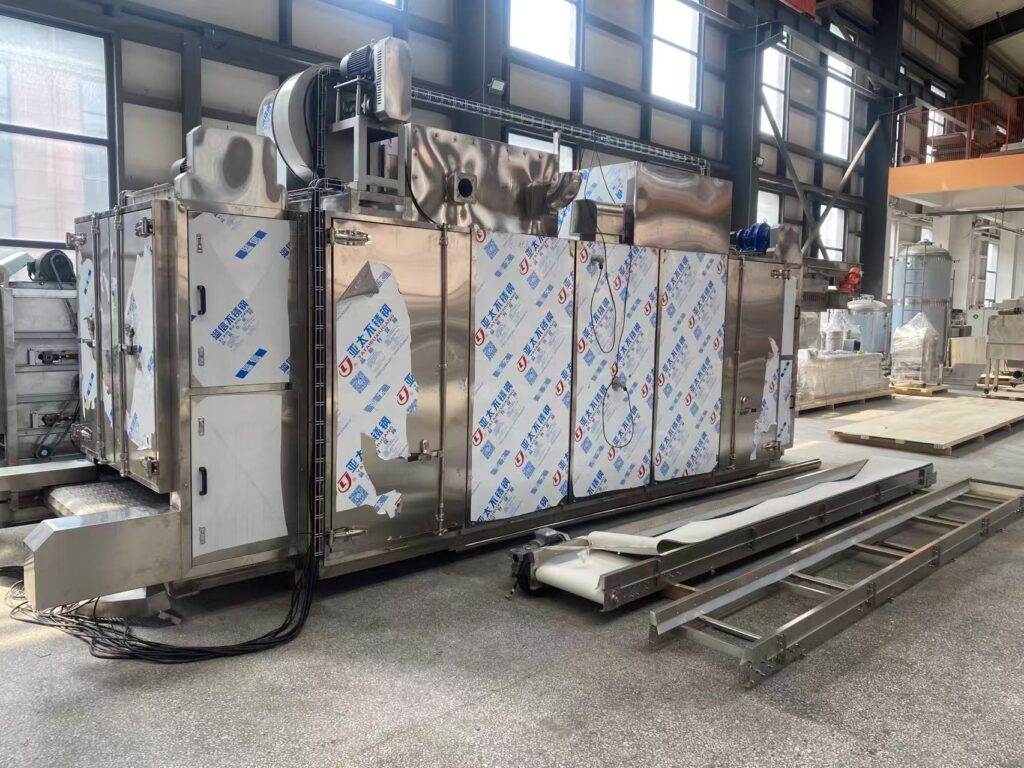
7. Drying & Toasting – Texture and Shelf Life
This step serves three purposes:
- Reduce moisture to 2–4% (crispy texture, prevents mold)
- Develop color and flavor (Maillard reaction and caramelization)
- Increase porosity (for crunch)
Equipment: Multi-zone conveyor belt dryer/toaster (gas-fired or electric).
Temperature profile: 150–300°C (302–572°F), progressively decreasing.
Residence time: 3–15 minutes depending on cereal thickness.
Moisture target after drying: 2–5%.
8. Coating – Adding Flavor, Sweetness & Nutrition
Most breakfast cereals are not complete after drying. cereal extrusion A coating system applies:
- Sugar/syrup solution (for sweetness and gloss)
- Oil (for mouthfeel and to help seasoning stick)
- Vitamin & mineral premix (post-extrusion addition prevents heat degradation)
- Flavor powders (cocoa, cinnamon, fruit flavors)
Equipment: Rotating drum coater or enrober.
- Spray nozzles apply liquid coating as cereals tumble.
- Powdered ingredients are dusted onto wet surfaces.
Coating percentage: Typically 10–30% of final product weight (higher for kids’ cereals).
9. Cooling – Stabilizing the Product
Coated cereals exit the coating drum hot (60–80°C). They must be cooled before packaging to:
- Prevent condensation inside the bag
- Harden the coating
- Avoid fat oxidation (rancidity)
Equipment: Fluidized bed cooler or belt cooler with ambient air blowing upward.
Final product temperature: ≤35°C (95°F).
10. Screening & Clump Breaking
Lumps, fused pieces, and fine dust are removed.

- Oscillating screen separates oversized clusters (returned for reprocessing or sold as “broken bits” for food service).
- Air classifier removes light dust and fines.
Only uniform, free-flowing pieces proceed to packaging.
11. Packaging – Sealing in Freshness
Cereal is highly sensitive to moisture and oxygen.
Packaging layers:
- Inner bag: Metallized film or high-barrier plastic (PET/Al/PE) – blocks moisture, oxygen, light.
- Outer box: Printed cardboard for retail display.
Key packaging steps:
- Weighing filler: Net weight controlled (e.g., 300g, 500g, 1kg).
- Vertical form fill seal (VFFS) machine for pillow bags (family size).
- Nitrogen flushing – Inert gas replaces air inside the bag to prevent staleness. Residual oxygen target: <2%.
- Bag sealing – Heat seal with check on seal integrity.
Optional: Carton erector + case packer for multi-packs.
12. Quality Control Throughout the Line
Critical control points and their targets:
| Parameter | Target | Test Method |
|---|---|---|
| Moisture (post-drying) | 2–5% | Moisture analyzer (130°C, 15 min) |
| Bulk density | 80–350 g/L (varies by product) | Volumetric cylinder test |
| Flake thickness | ±0.05 mm tolerance | Caliper gauge |
| Color | ΔE < 1.5 vs standard | Spectrophotometer |
| Water activity (aw) | <0.45 | aw meter |
| Vitamin retention | ≥90% of label claim | HPLC |
| Breakage (% fines) | <3% passing through #10 mesh | Sieve analysis |
13. Process Flow Diagram (Summary)
Raw grains → Cleaning → (Milling if needed) → Mixing with sugar/syrup/water
      ↓
Cooking (pressure/steam/extrusion)
      ↓
Tempering (only for flakes)
      ↓
Forming/Shaping (flaking roll, puffer, or extruder die)
      ↓
Drying + Toasting (belt dryer, 150–300°C)
      ↓
Coating (oil, sugar, vitamins → rotating drum)
      ↓
Cooling (fluid bed → ≤35°C)
      ↓
Screening → Packaging (nitrogen flushed) → Metal detector → Case packing
14. Energy & Efficiency Considerations
Large cereal plants consume significant energy, primarily in drying and cooking.
Typical energy use per kg of finished cereal: 3–6 MJ (electricity + gas).

Efficiency practices:
- Recirculating drying air to capture waste heat
- Using extruder-cooking for lower energy than batch steam cooking
- Reject heat from cooling step to preheat incoming drying air
15. Common Cereals & Their Specific Flows
| Cereal Product | Process Variant |
|---|---|
| Corn Flakes | Whole corn → cooking → tempering → flaking → toasting |
| Rice Krispies | Rice → cooking → drying → tempering → puffing (oven or gun) → coating |
| Froot Loops | Corn flour + sugar + flavor → twin-screw extrusion → die with ring shape → drying → sugar spray |
| Granola | Oats + nuts + sweetener → mixing → baking → cooling → breaking into clusters |
| Shredded Wheat | Whole wheat → cooking → shredding via rollers → forming into biscuits → baking |
Conclusion

The journey from raw grain to crispy, sweetened breakfast cereal is a remarkable marriage of food science, mechanical engineering, cereal extrusion and sensory design. Each step—from precise cooking conditions to controlled drying and nitrogen-flushed packaging—is optimized to deliver the texture, flavor, and shelf life consumers expect.
For food technologists and production managers, mastering the cereal workflow means balancing efficiency, quality, and cost while maintaining strict food safety standards. Whether you are producing an extruded alphabet-shaped cereal or a simple oat flake, the core principles remain the same: cook, shape, dry, coat, and protect from moisture.
With growing demand for high-protein, low-sugar, and gluten-free cereals, the industry continues to innovate—but the fundamental processing workflow described above remains the backbone of nearly every breakfast cereal on the shelf.