
Selecting the right equipment for extruded snack production is critical to ensuring product quality, production efficiency, and long-term profitability. Extruded snacks—such as cheese balls, corn puffs, and shaped cereal snacks—rely on a combination of heat, pressure, and mechanical shear to cook and expand raw materials. Below is a practical guide to choosing equipment for each stage of the process.
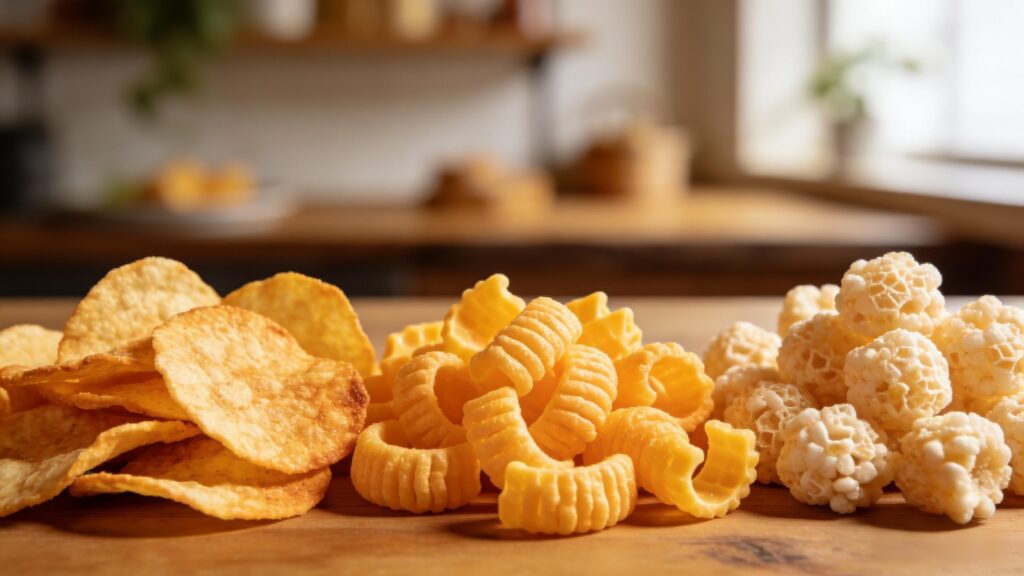
1. Understand Your Product Requirements
Before purchasing any machinery, define:
- Raw materials: Corn, rice, wheat, potato flakes, or composite flours.
- Final shape and texture: Hollow tubes, rings, balls, or 3D shapes; crispy or crunchy.
- Production capacity: Small-scale (50–150 kg/h) vs. industrial (500–2000+ kg/h).
- Value-added features: Coating (oil, sugar, or seasoning), filling (cream or chocolate), or colored products.
2. Core Equipment: The Extruder
The extruder is the heart of the line. Two main types are used:
- Single-screw extruders: Suitable for simple, low-fat, and low-moisture recipes. Lower cost and easier to maintain, but less flexible in terms of texture and ingredient variation.
- Twin-screw extruders: Ideal for complex recipes (high-fat, high-fiber, or protein-enriched). Better mixing, more consistent expansion, and adjustable residence time. Recommended for most commercial snack lines.
Key parameters to evaluate:
- Screw material (food-grade stainless steel with wear-resistant coating)
- Barrel length-to-diameter ratio (typical: 20:1 to 30:1)
- Temperature control zones (at least 3–4 zones for precise cooking)
- Throughput rating vs. your target output
3. Pre-conditioning and Material Handling
- Pre-conditioner: A cylinder with rotating paddles that adds steam and water to the raw mix before extrusion. Improves gelatinization, reduces screw wear, and increases capacity by 30–50%. Essential for high-output lines.
- Mixing and feeding system: A ribbon blender or paddle mixer for dry ingredients, paired with a gravimetric or volumetric feeder to ensure consistent flow into the extruder.
4. Drying and Post-Extrusion Processing
Extruded snacks typically contain 20–25% moisture after extrusion and must be dried to 3–5% for crispiness and shelf stability.

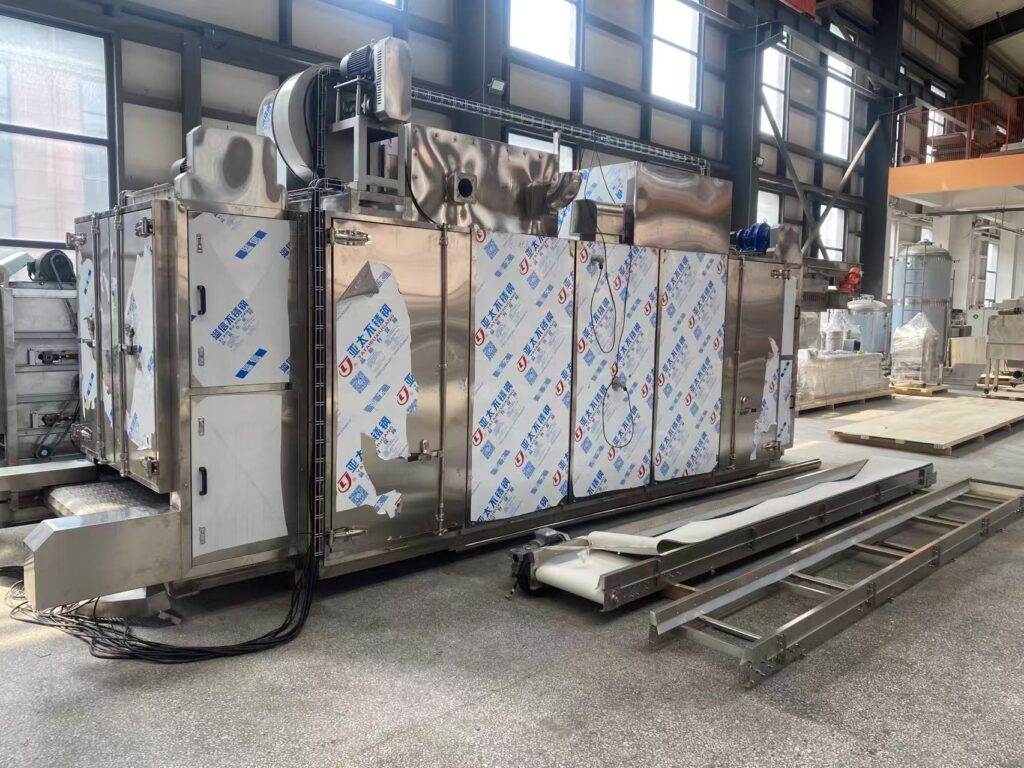
- Multi-pass belt dryer: Most common. Offers even airflow, adjustable temperature zones (60–120°C), and retention time control. Look for stainless steel belts and energy-efficient recirculation.
- Batch oven: Only for very small production (under 50 kg/h).
Optional but common add-ons:
- Flaking or shaping rolls (for flat or patterned products)
- Cooling conveyor (to prevent moisture condensation before packaging)
5. Coating and Seasoning
To add flavor and oil, consider:
- Rotary drum coater: Tumble snacks while oil or slurry is sprayed on. For dry seasoning (powders), use a continuous seasoning drum with anti-static bars to reduce dust.
- Enrober (for chocolate or sugar coating): Requires a separate cooling tunnel.
6. Packaging Integration
High-speed snack lines require inline packaging. Choose between:
- Vertical form-fill-seal (VFFS) machines – common for bags, with gas flushing for extended shelf life.
- Flow wrappers – for bar-shaped or individually wrapped snacks.
Ensure the packaging system matches your extruder’s output speed to avoid bottlenecks.
7. Material Safety and Hygiene
All contact parts must be 316L stainless steel or food-safe plastic (e.g., UHMW-PE). Consider:
- Quick-release clamps and easy-clean designs (no dead zones where dough can accumulate)
- CIP (clean-in-place) capability for large extruders
- Compliance with FDA, EU 1935/2004, or local food machinery standards
8. Energy Efficiency and Utilities
- Extrusion lines consume steam, electricity, and water. Compare specific energy consumption (kWh per kg of product).
- Heat recovery systems on dryers can reduce energy costs by 15–20%.
- Check required compressed air (for cutters or pneumatic controls) – usually 6–8 bar.
9. Supplier Selection and After-Sales Support
- Request a factory acceptance test (FAT) using your own recipe.
- Verify availability of spare parts (screws, dies, knives) with short lead times.
- Ask for on-site installation, training, and a minimum 12-month warranty.
10. Budget Planning
| Equipment | Cost Share (%) | Lead Time (weeks) |
|---|---|---|
| Extruder + Pre-conditioner | 40–50 | 8–12 |
| Dryer | 20–25 | 6–10 |
| Coater/Seasoning drum | 10–15 | 4–6 |
| Packaging system | 15–20 | 6–8 |
Always include 10–15% extra for auxiliary items (air compressors, chillers, conveyors).

Final Checklist
✅ Does the extruder handle your raw material’s viscosity and abrasiveness?
✅ Is the dryer’s retention time adjustable for different product sizes?
✅ Can all equipment run for 16+ hours without overheating?
✅ Is technical support available in your region?
Choosing the right extrusion line requires balancing initial cost against flexibility, energy use, and maintenance needs. For most medium-to-large producers, a twin-screw extruder paired with a multi-pass belt dryer offers the best long-term value. Always ask for a trial run before final purchase.
 English
  Russian
  Spanish
  Italian
  Arabic
  Portuguese
  German
  French
  Japanese
  Moroccan Arabic
  Persian
  Belarusian